Heartfelt Bouquet by Gina K Designs

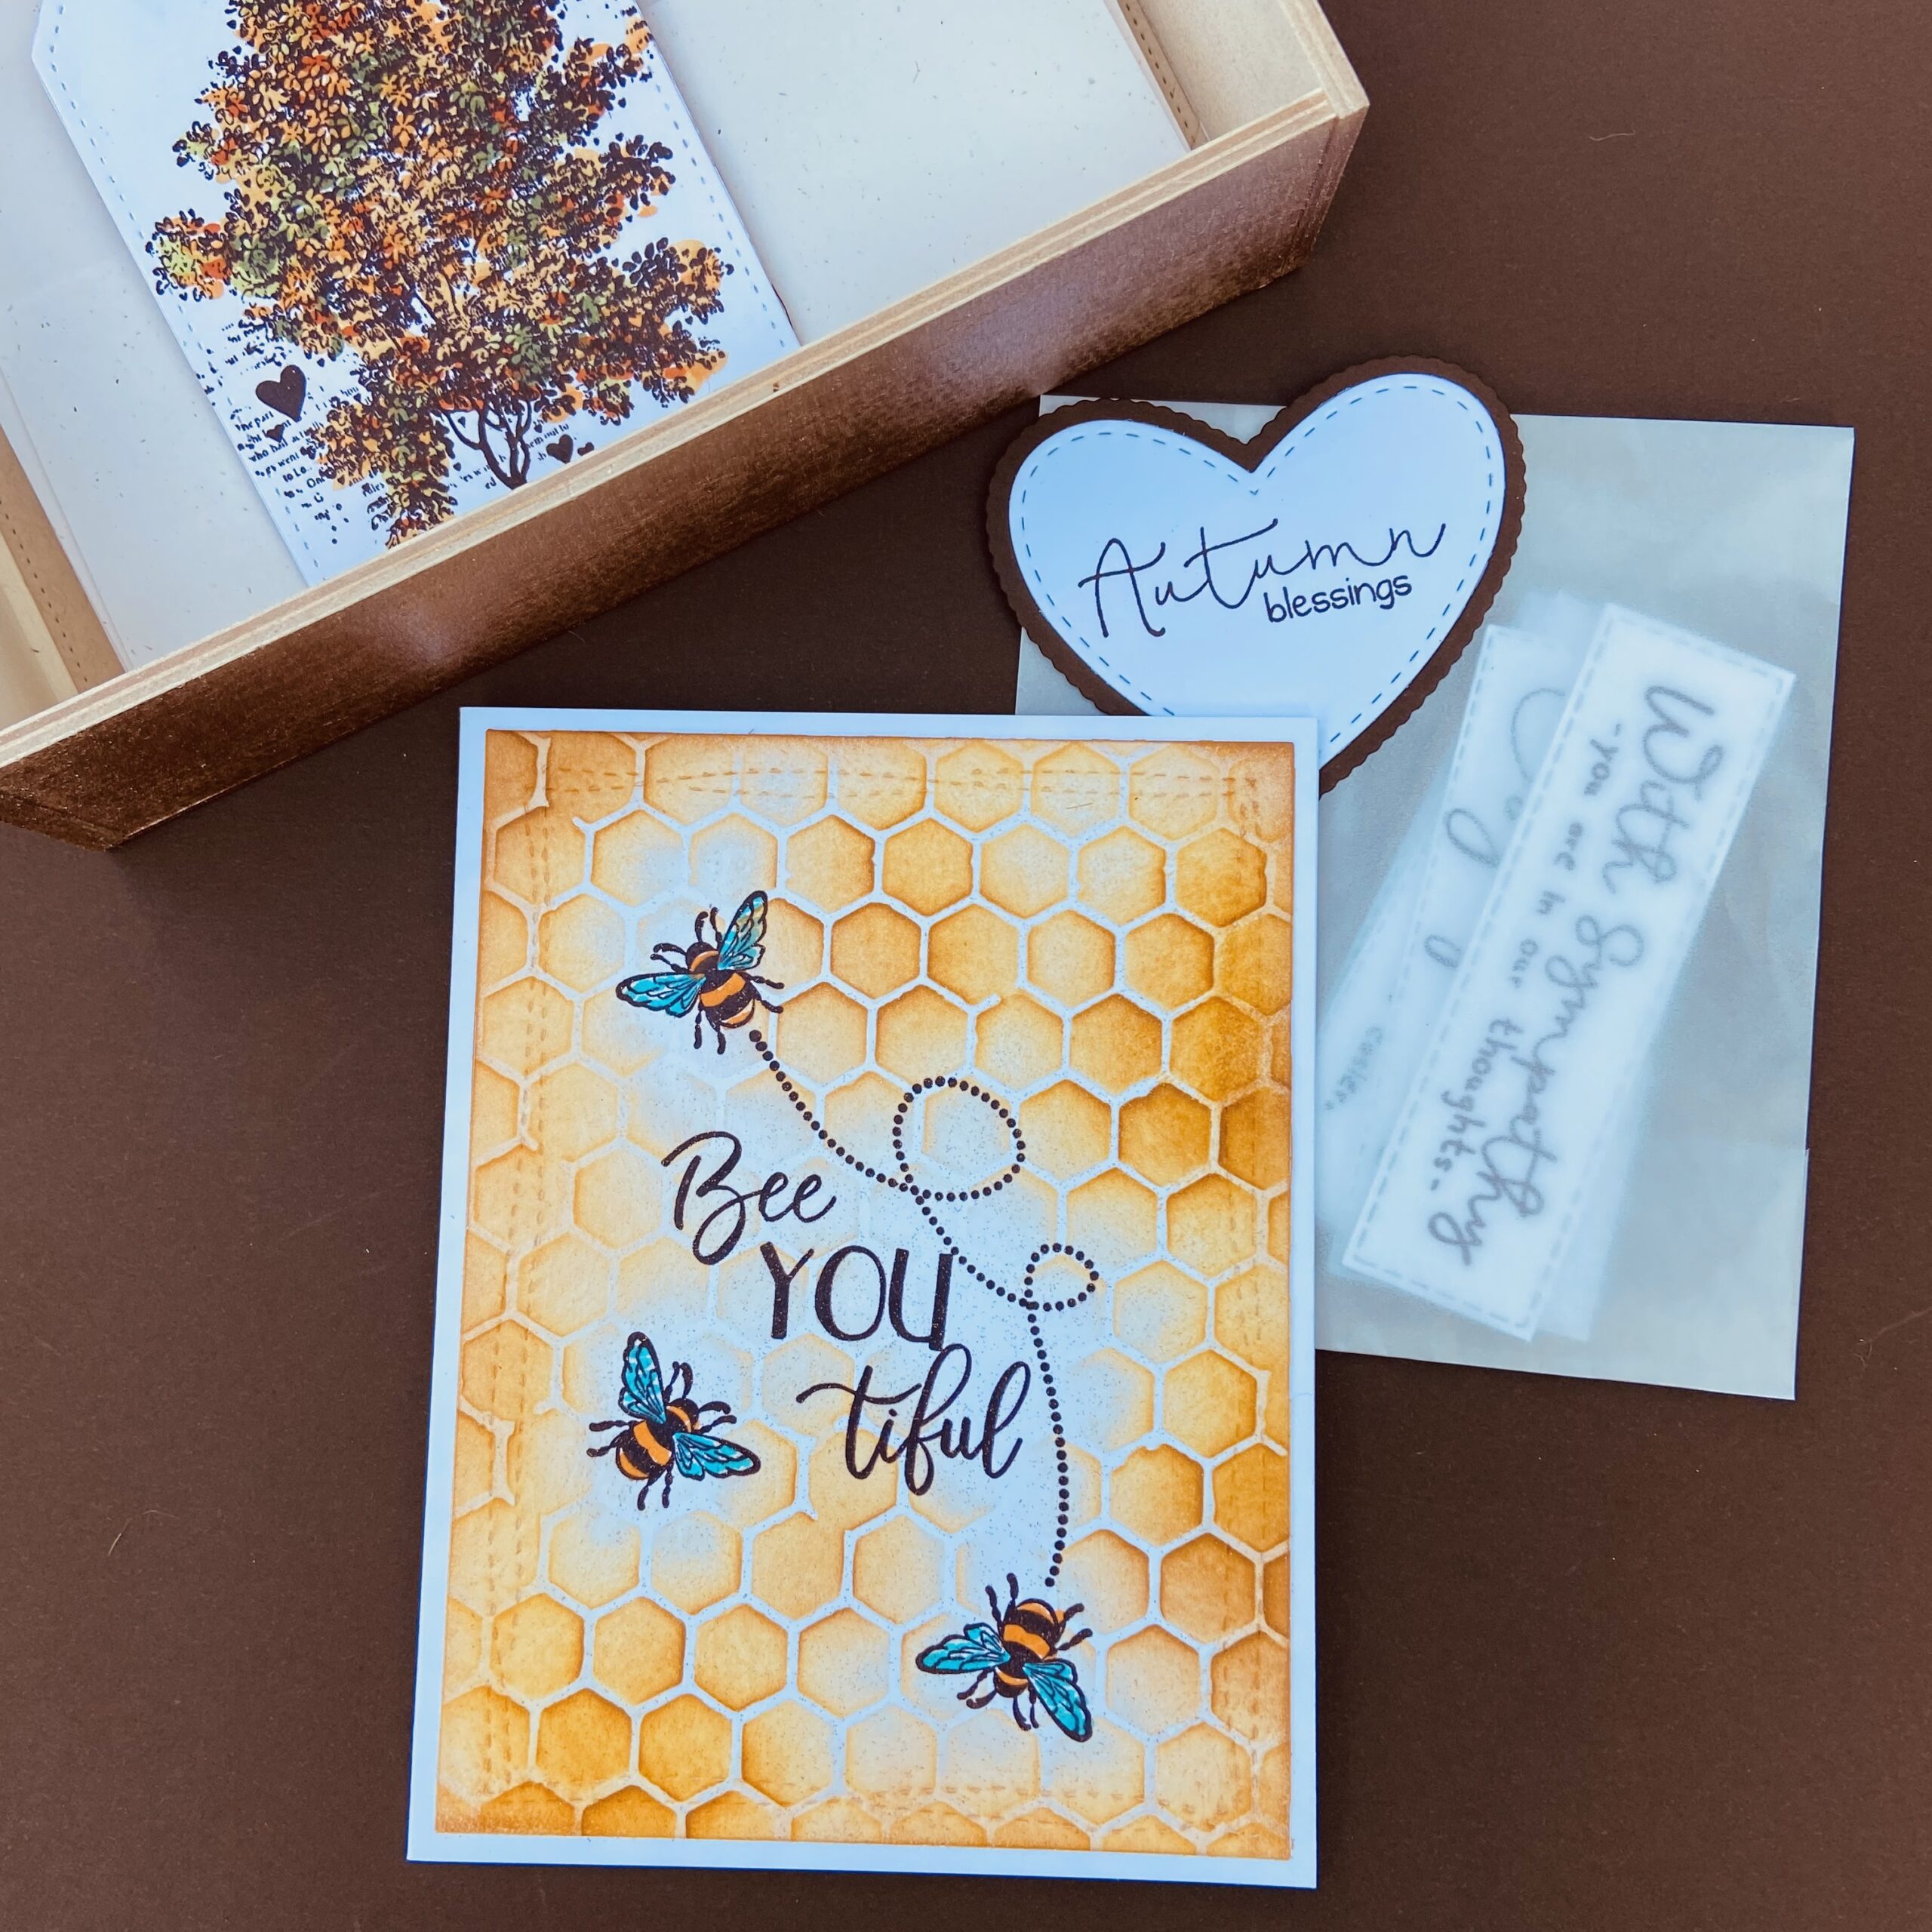
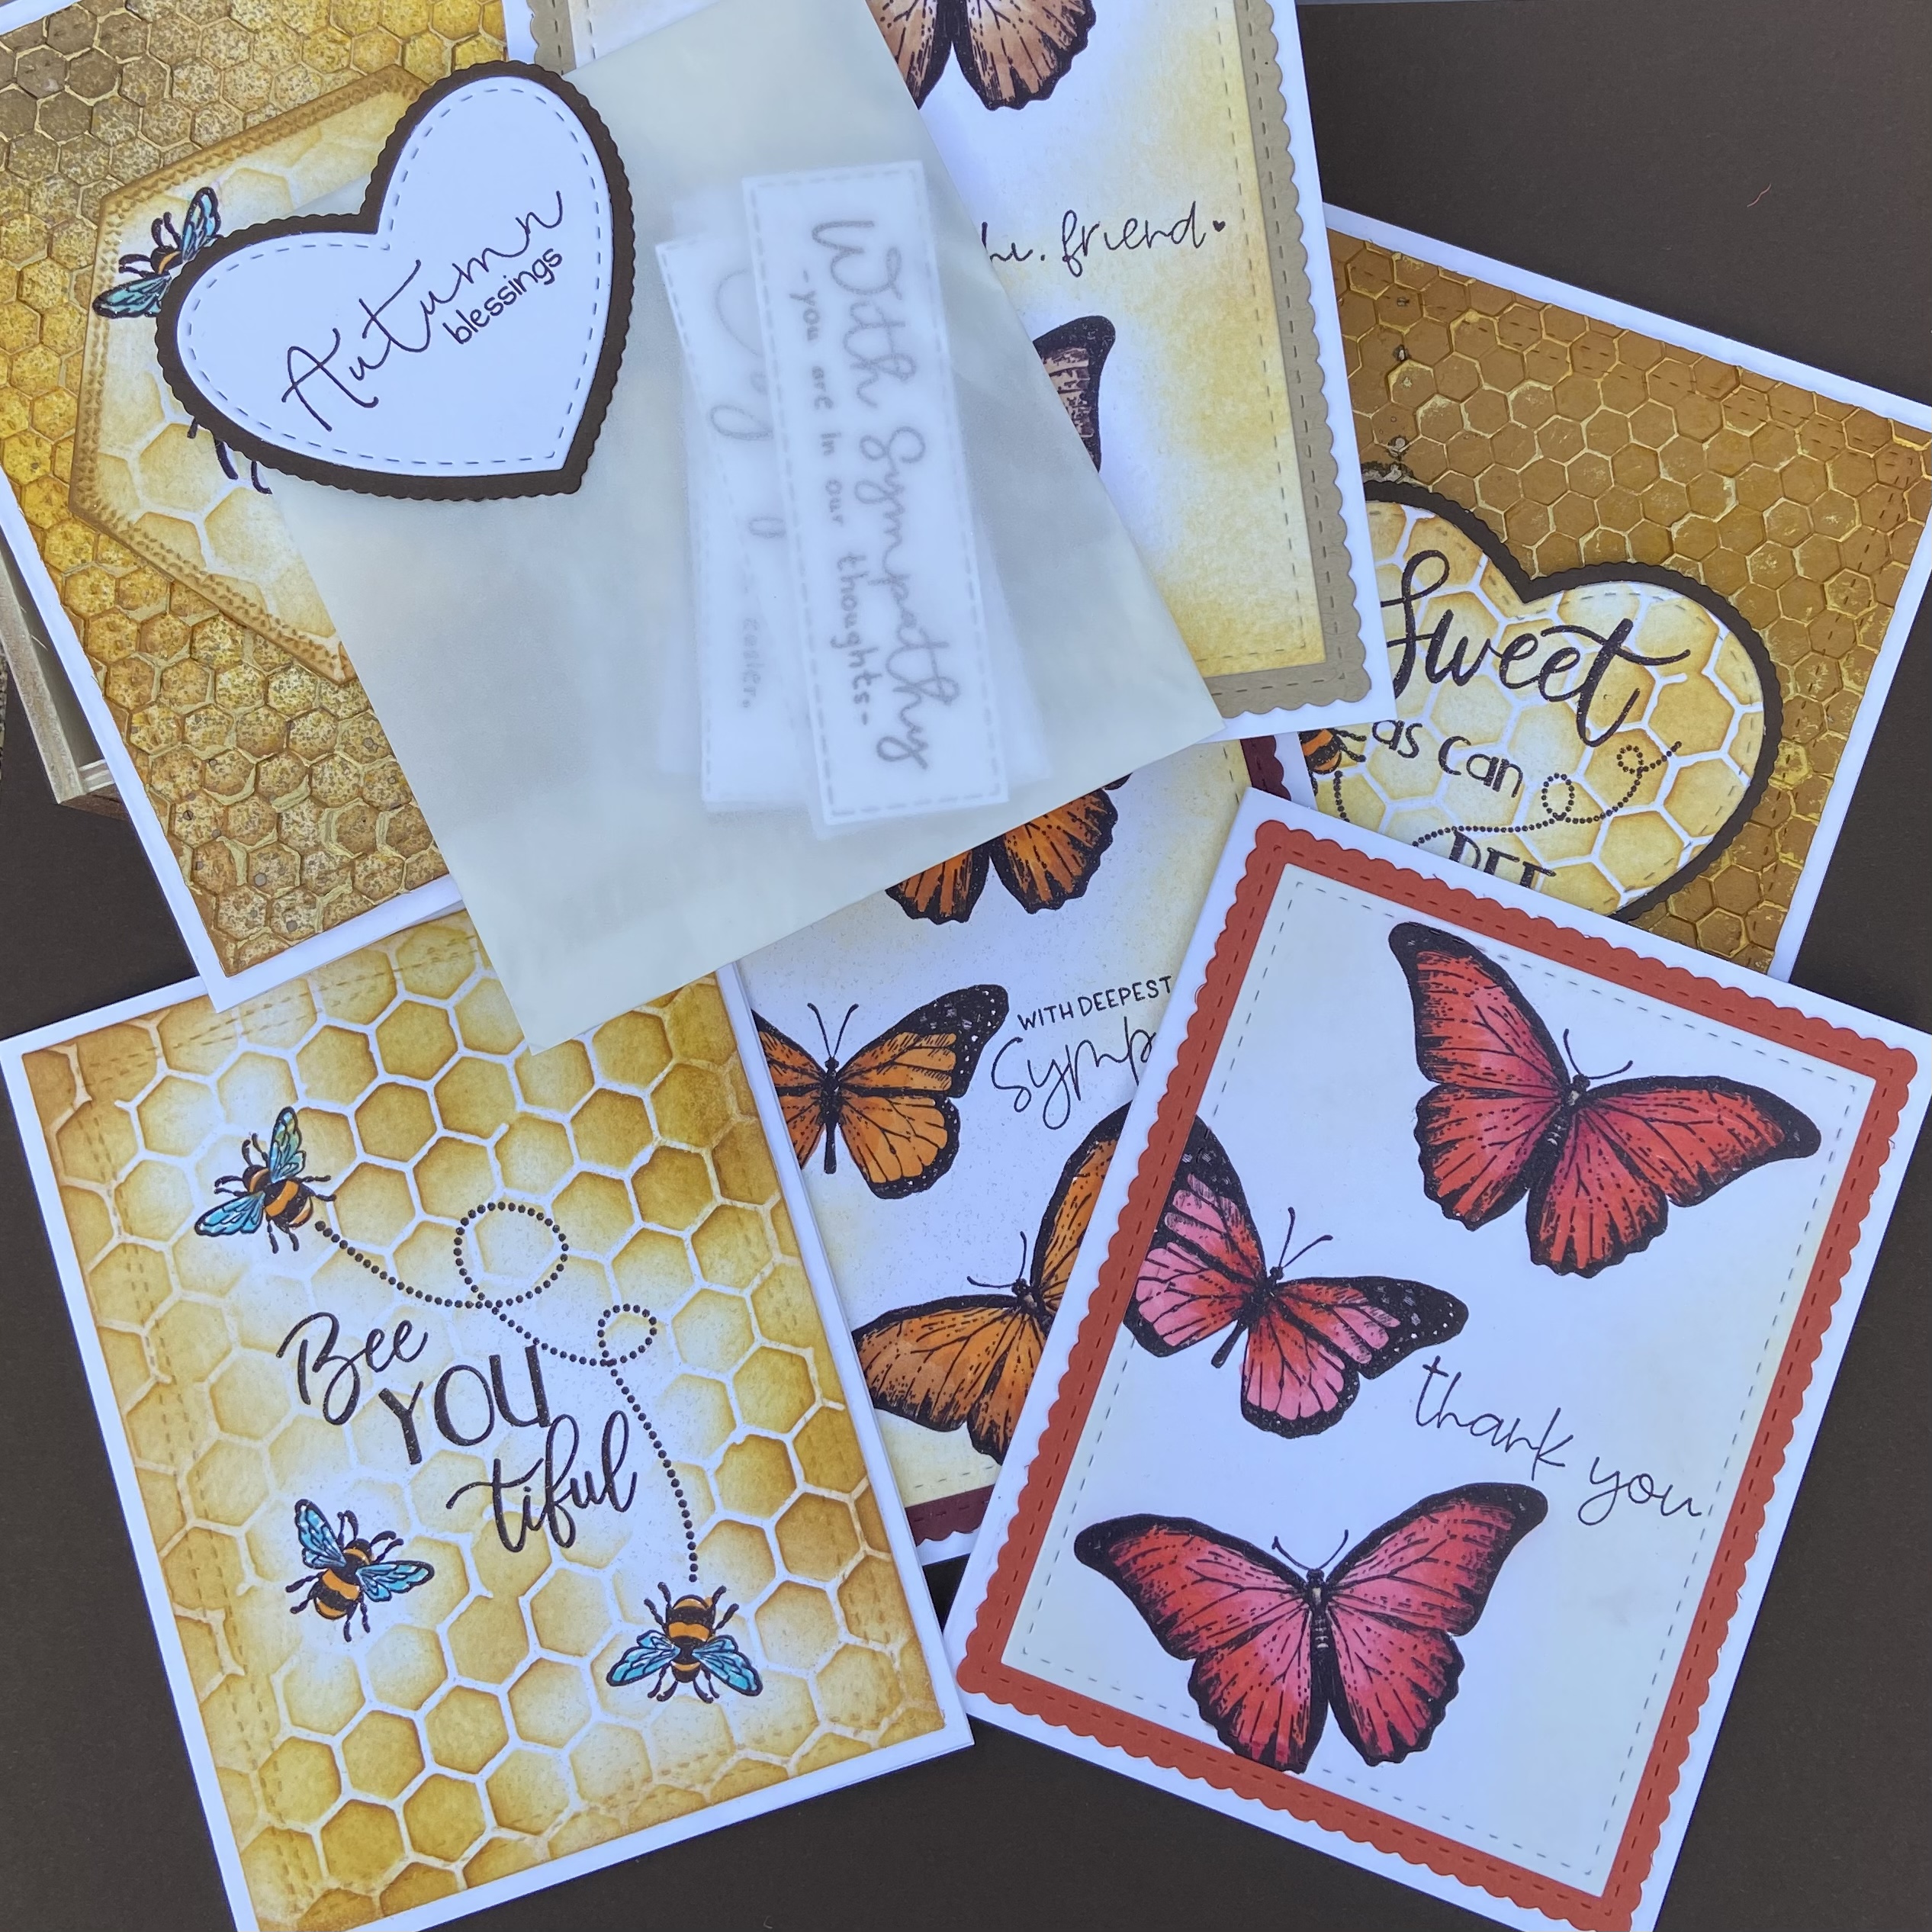
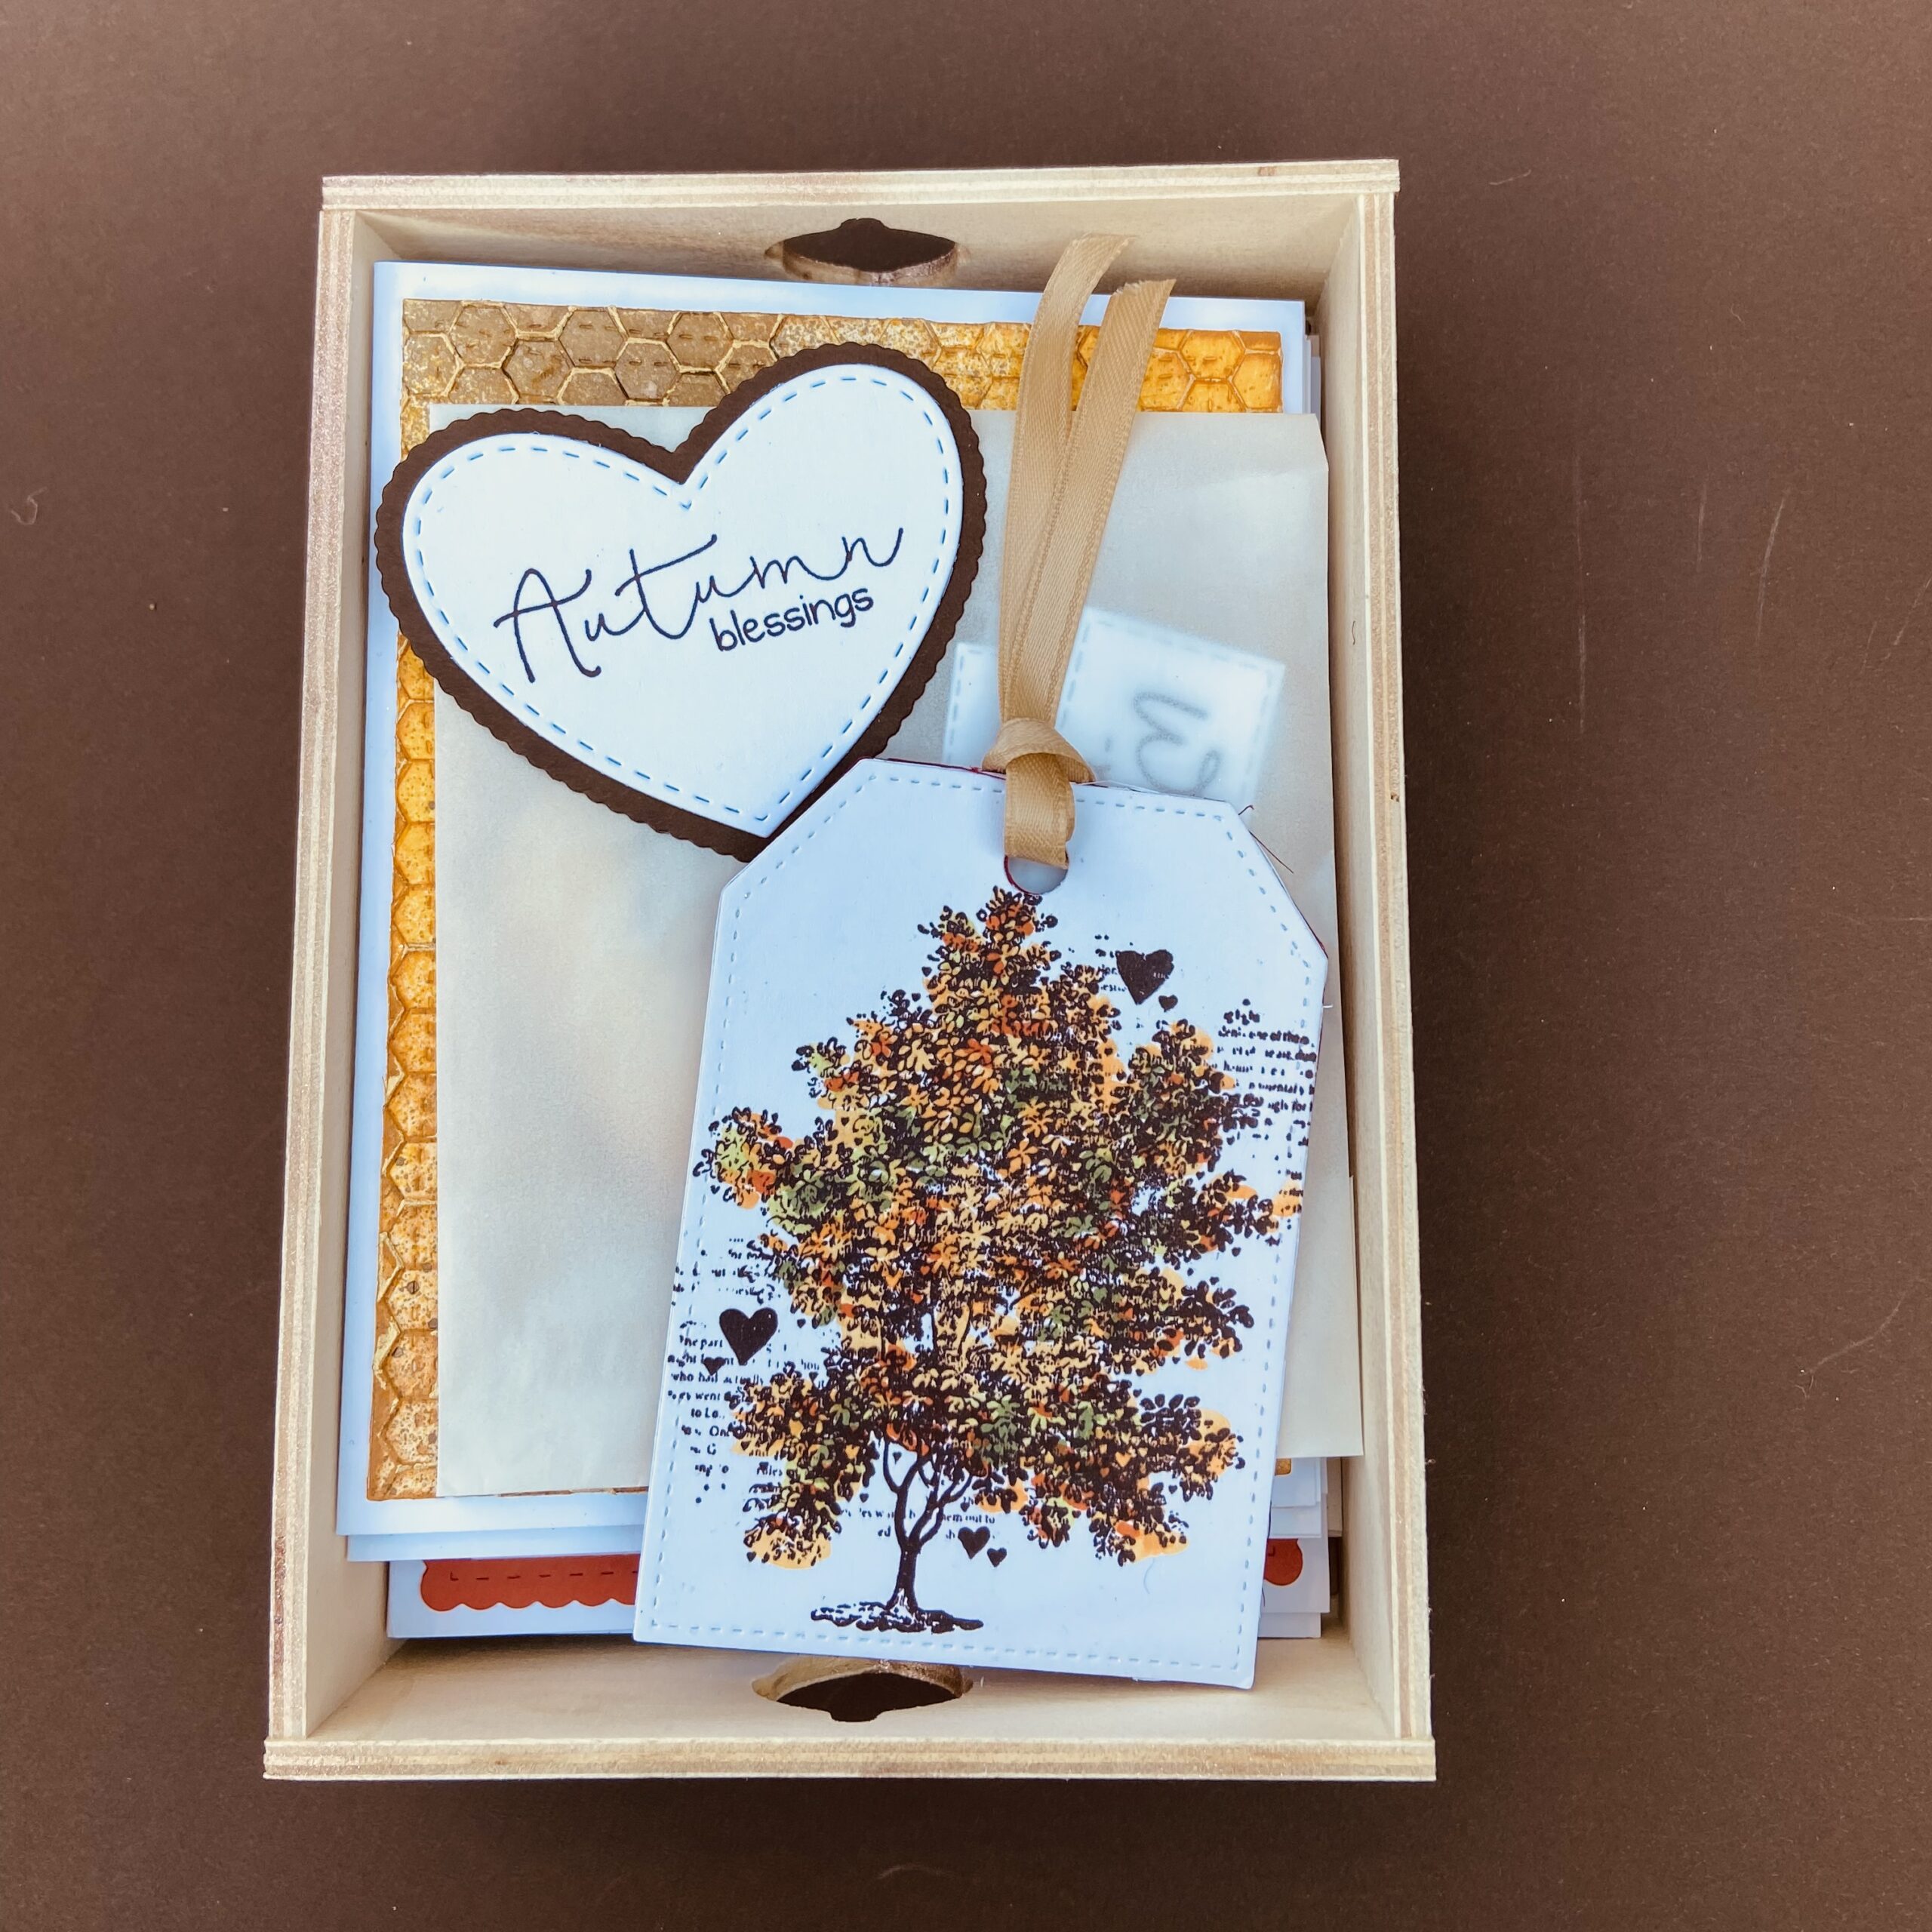
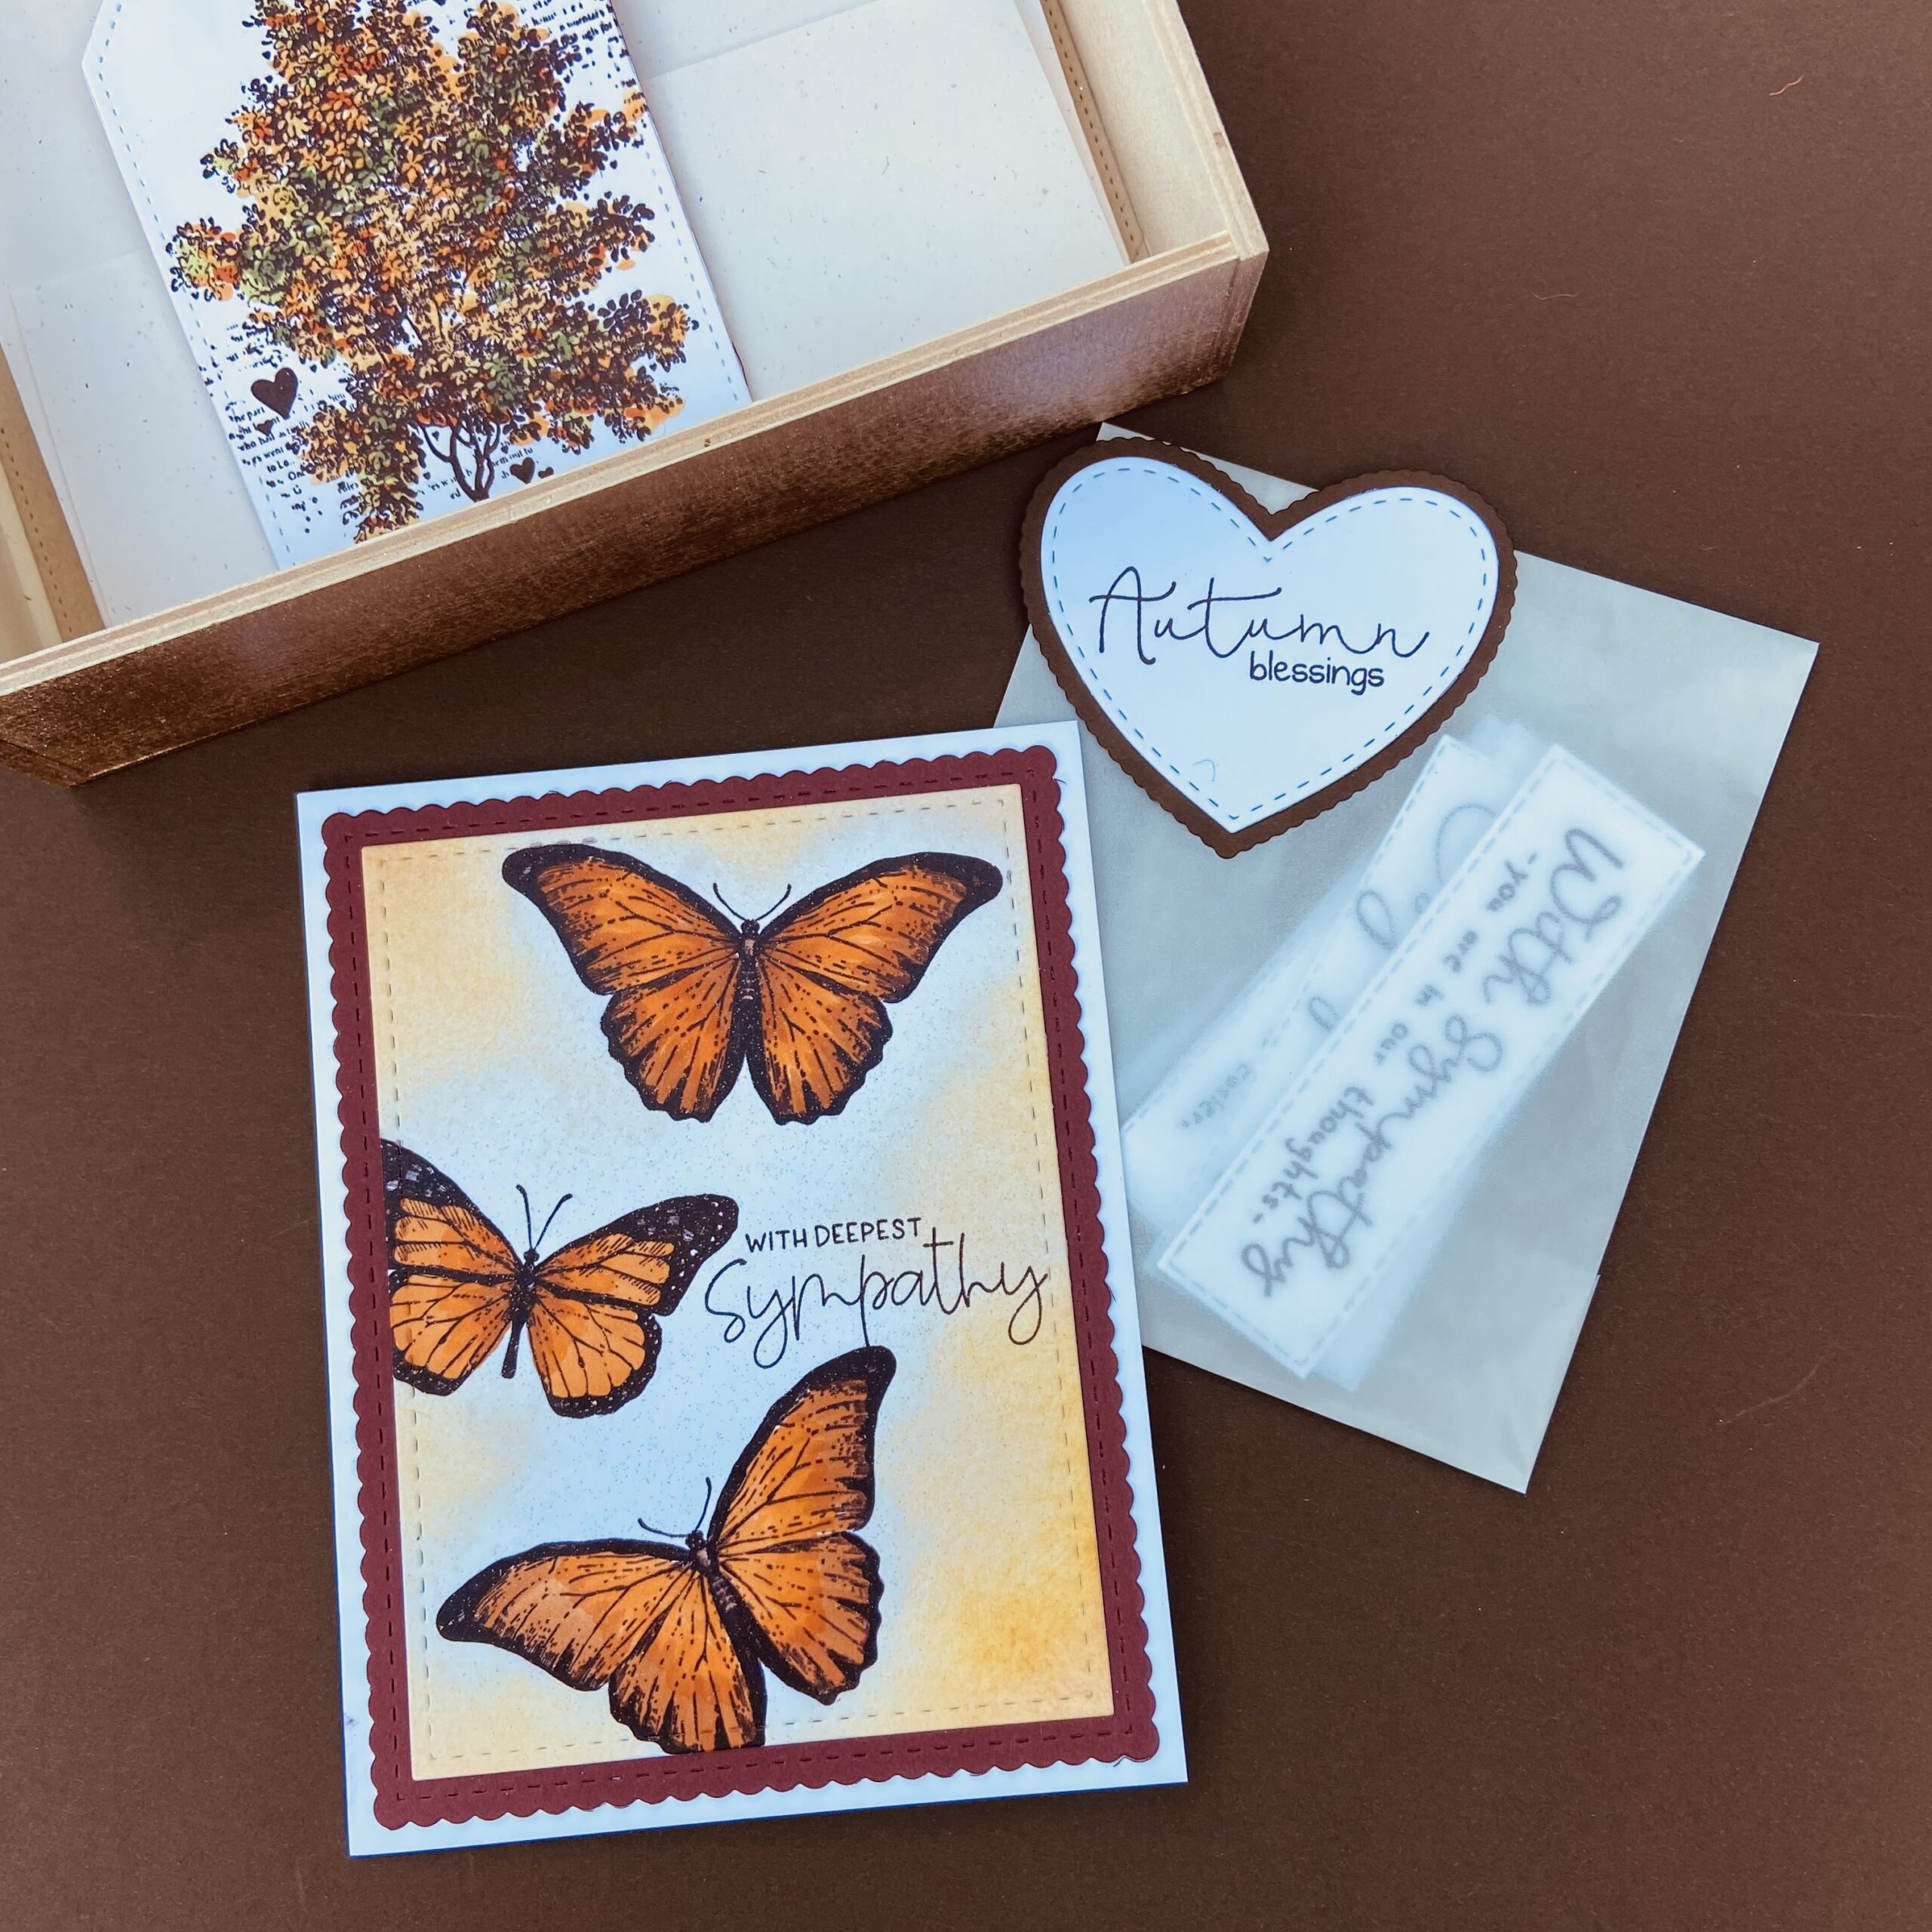
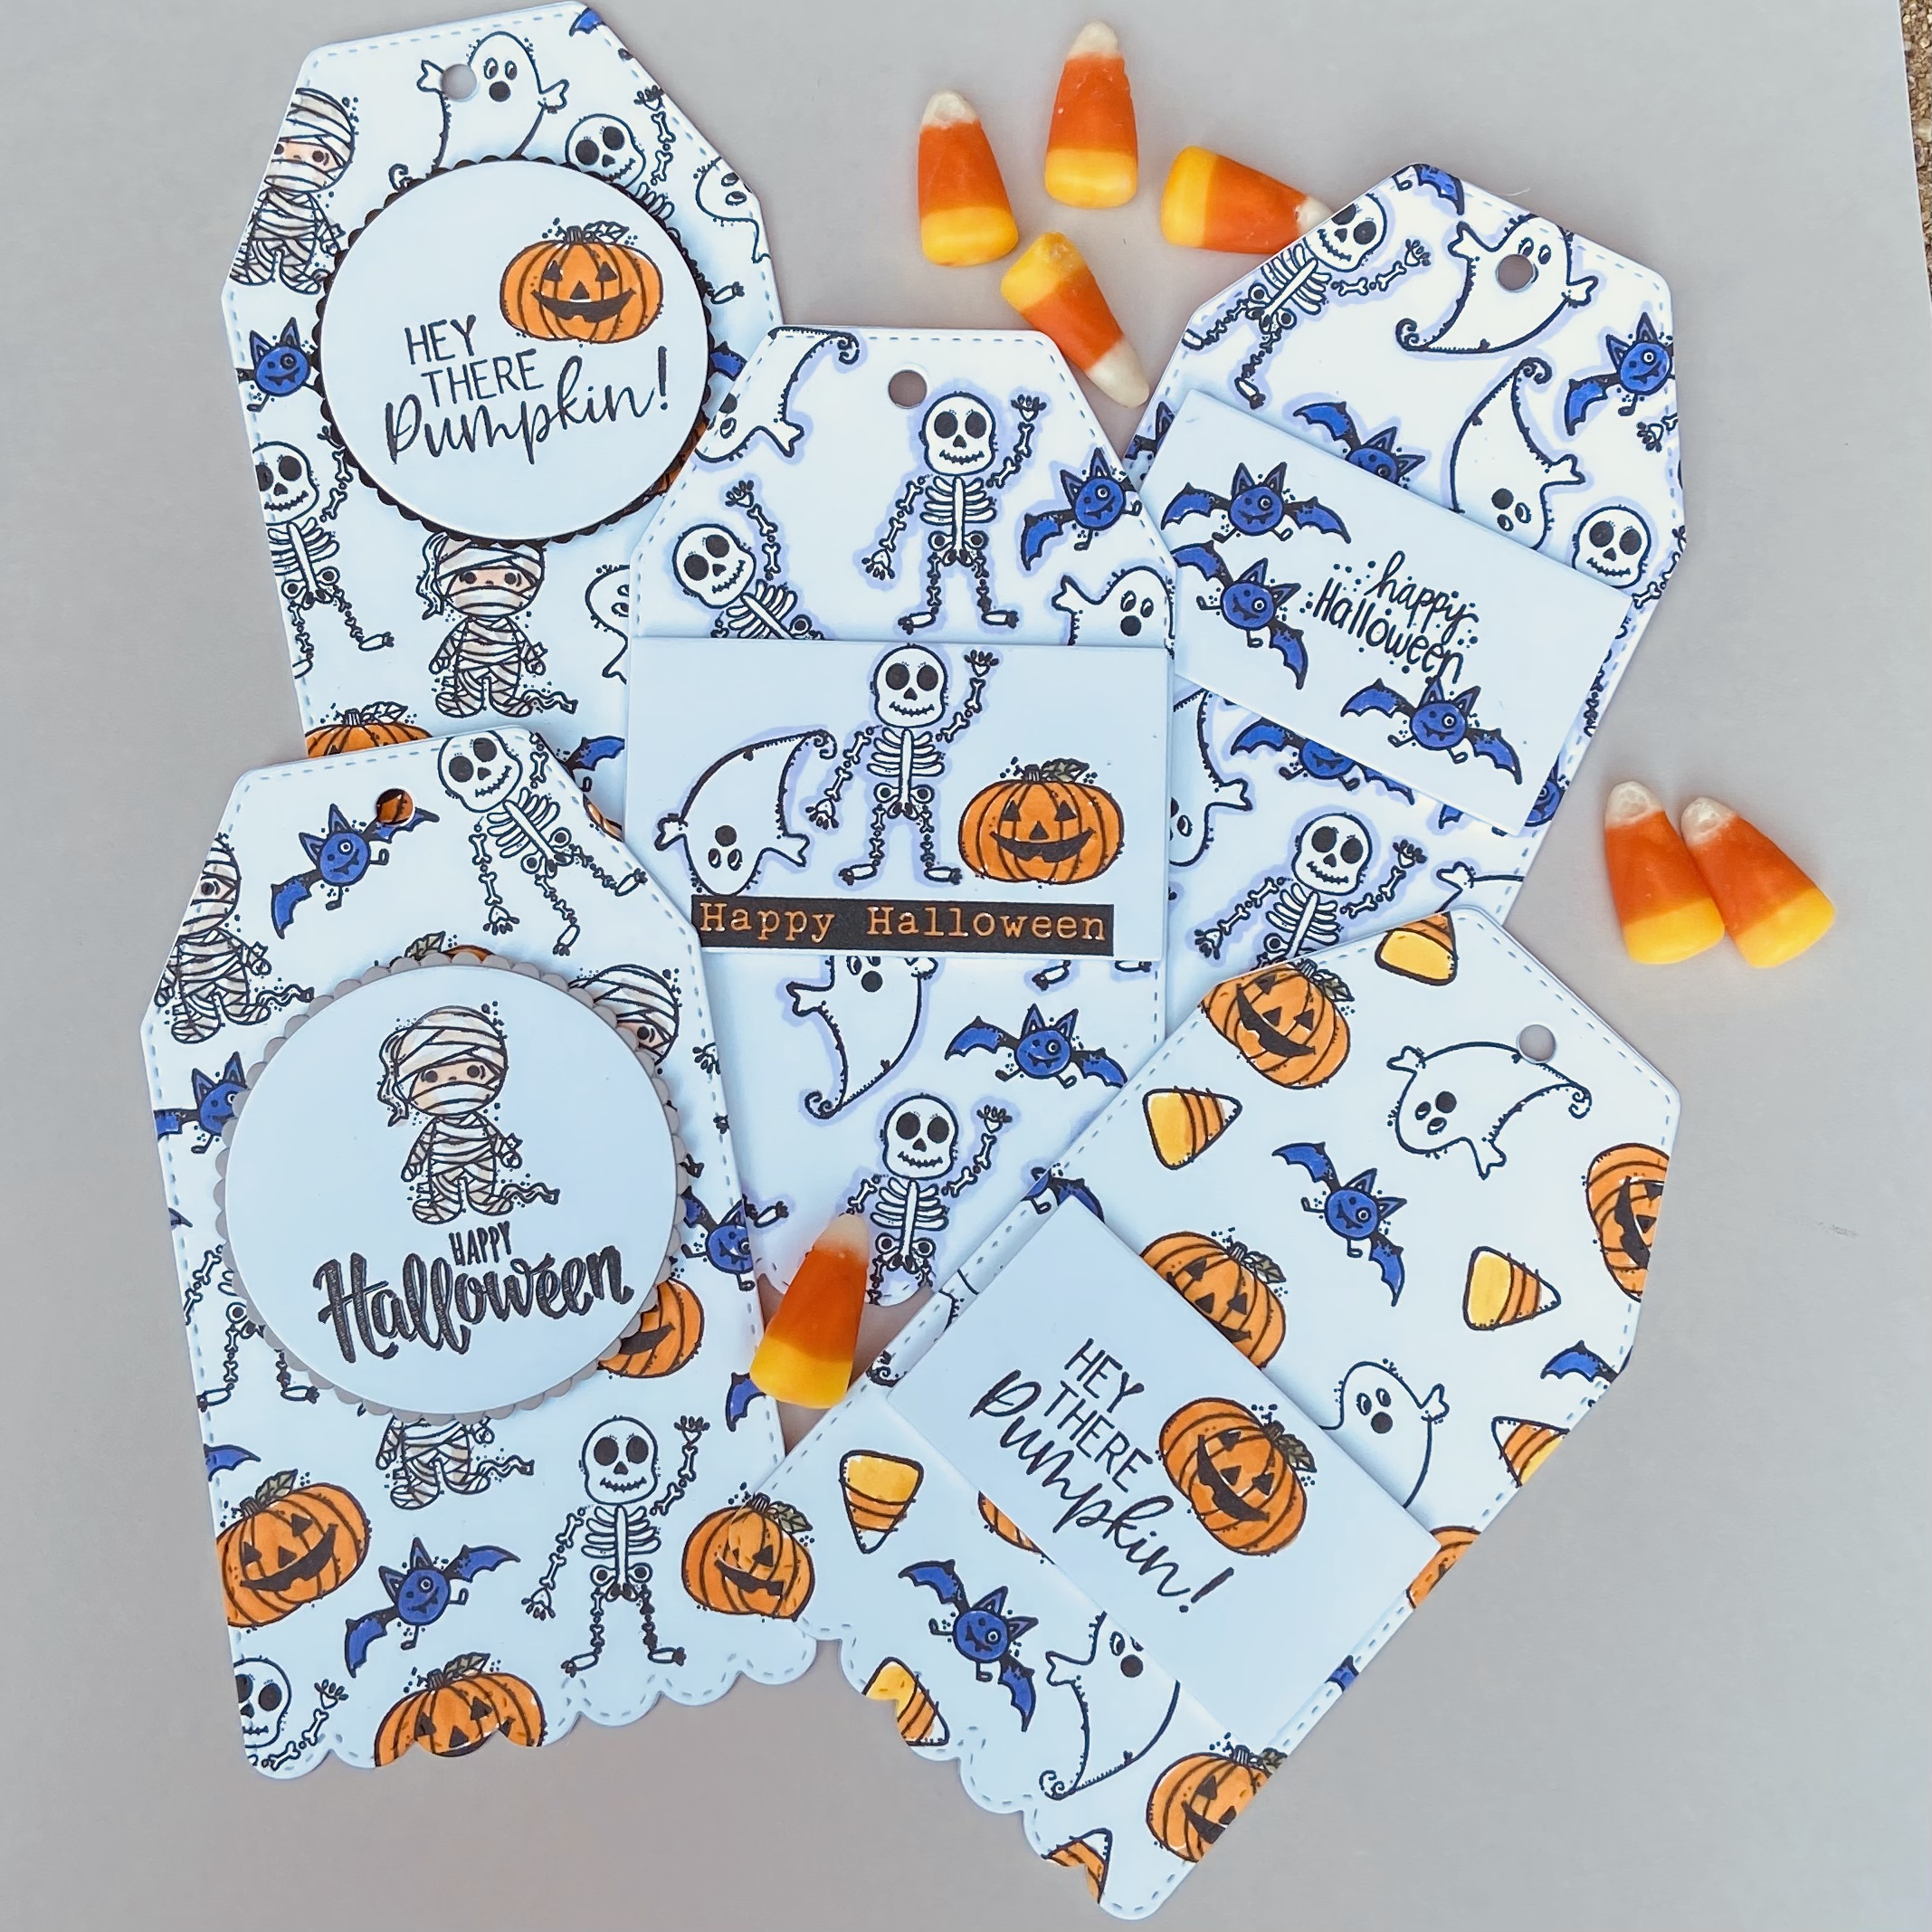
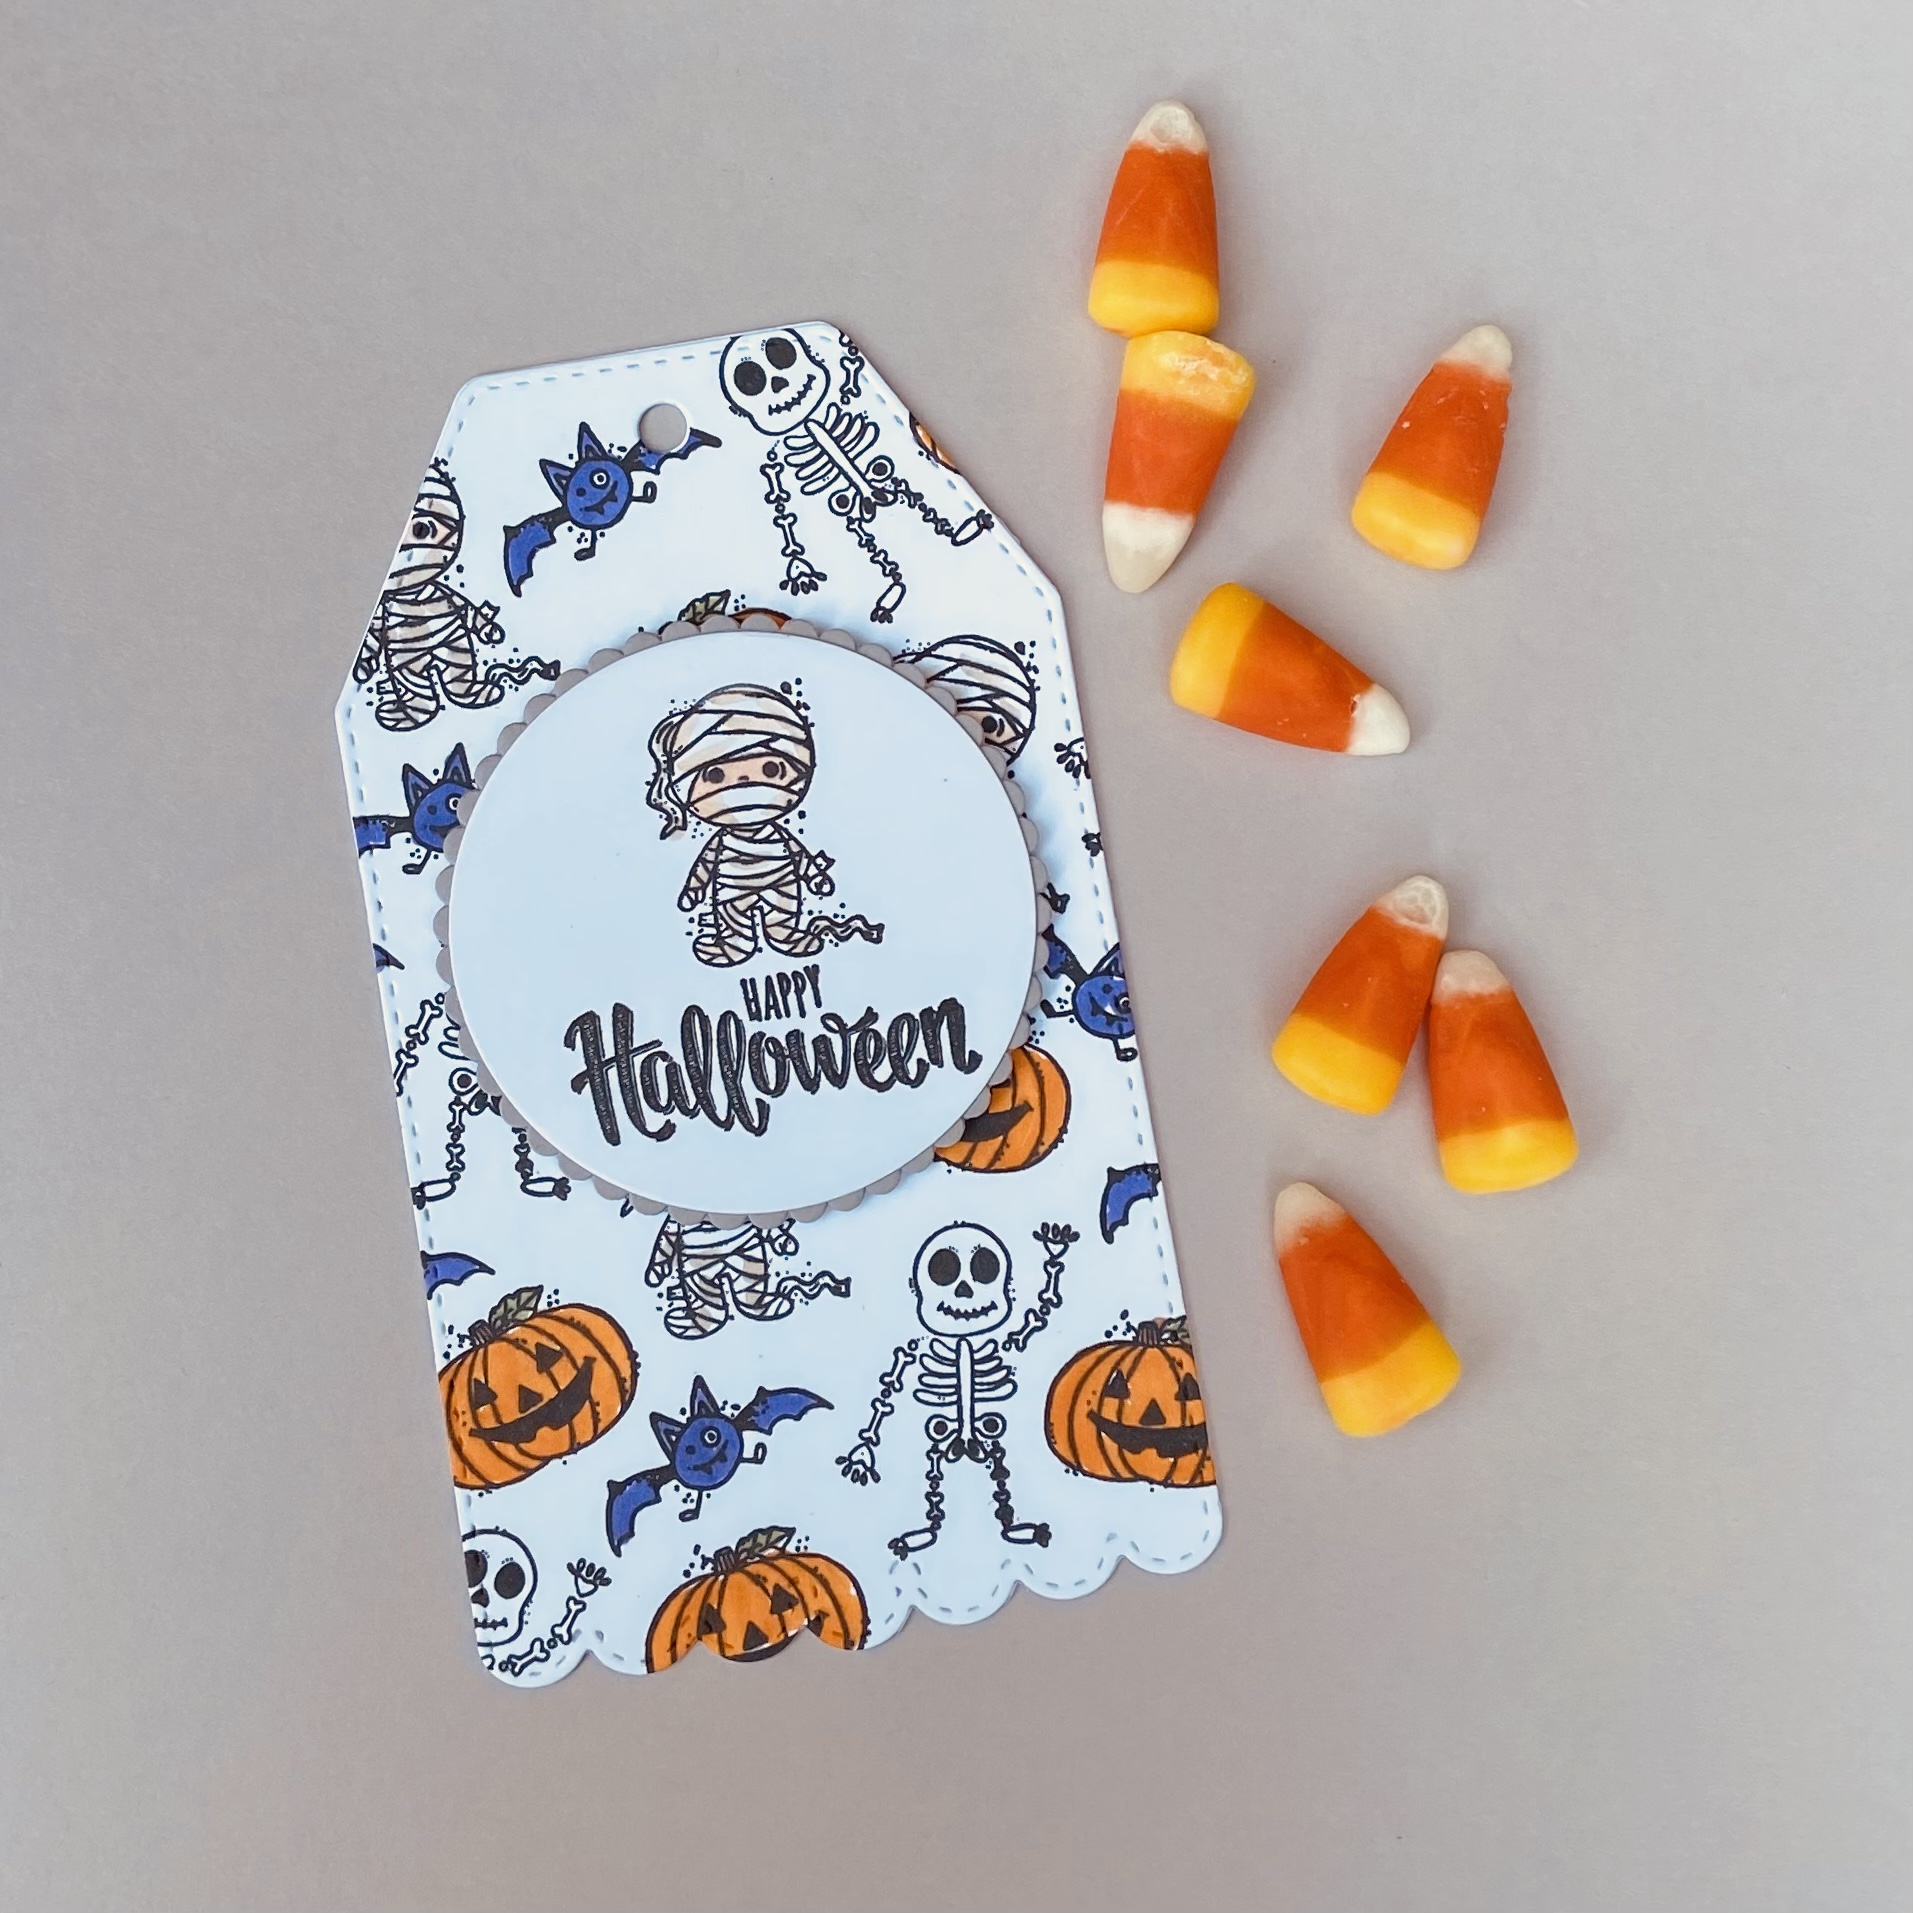
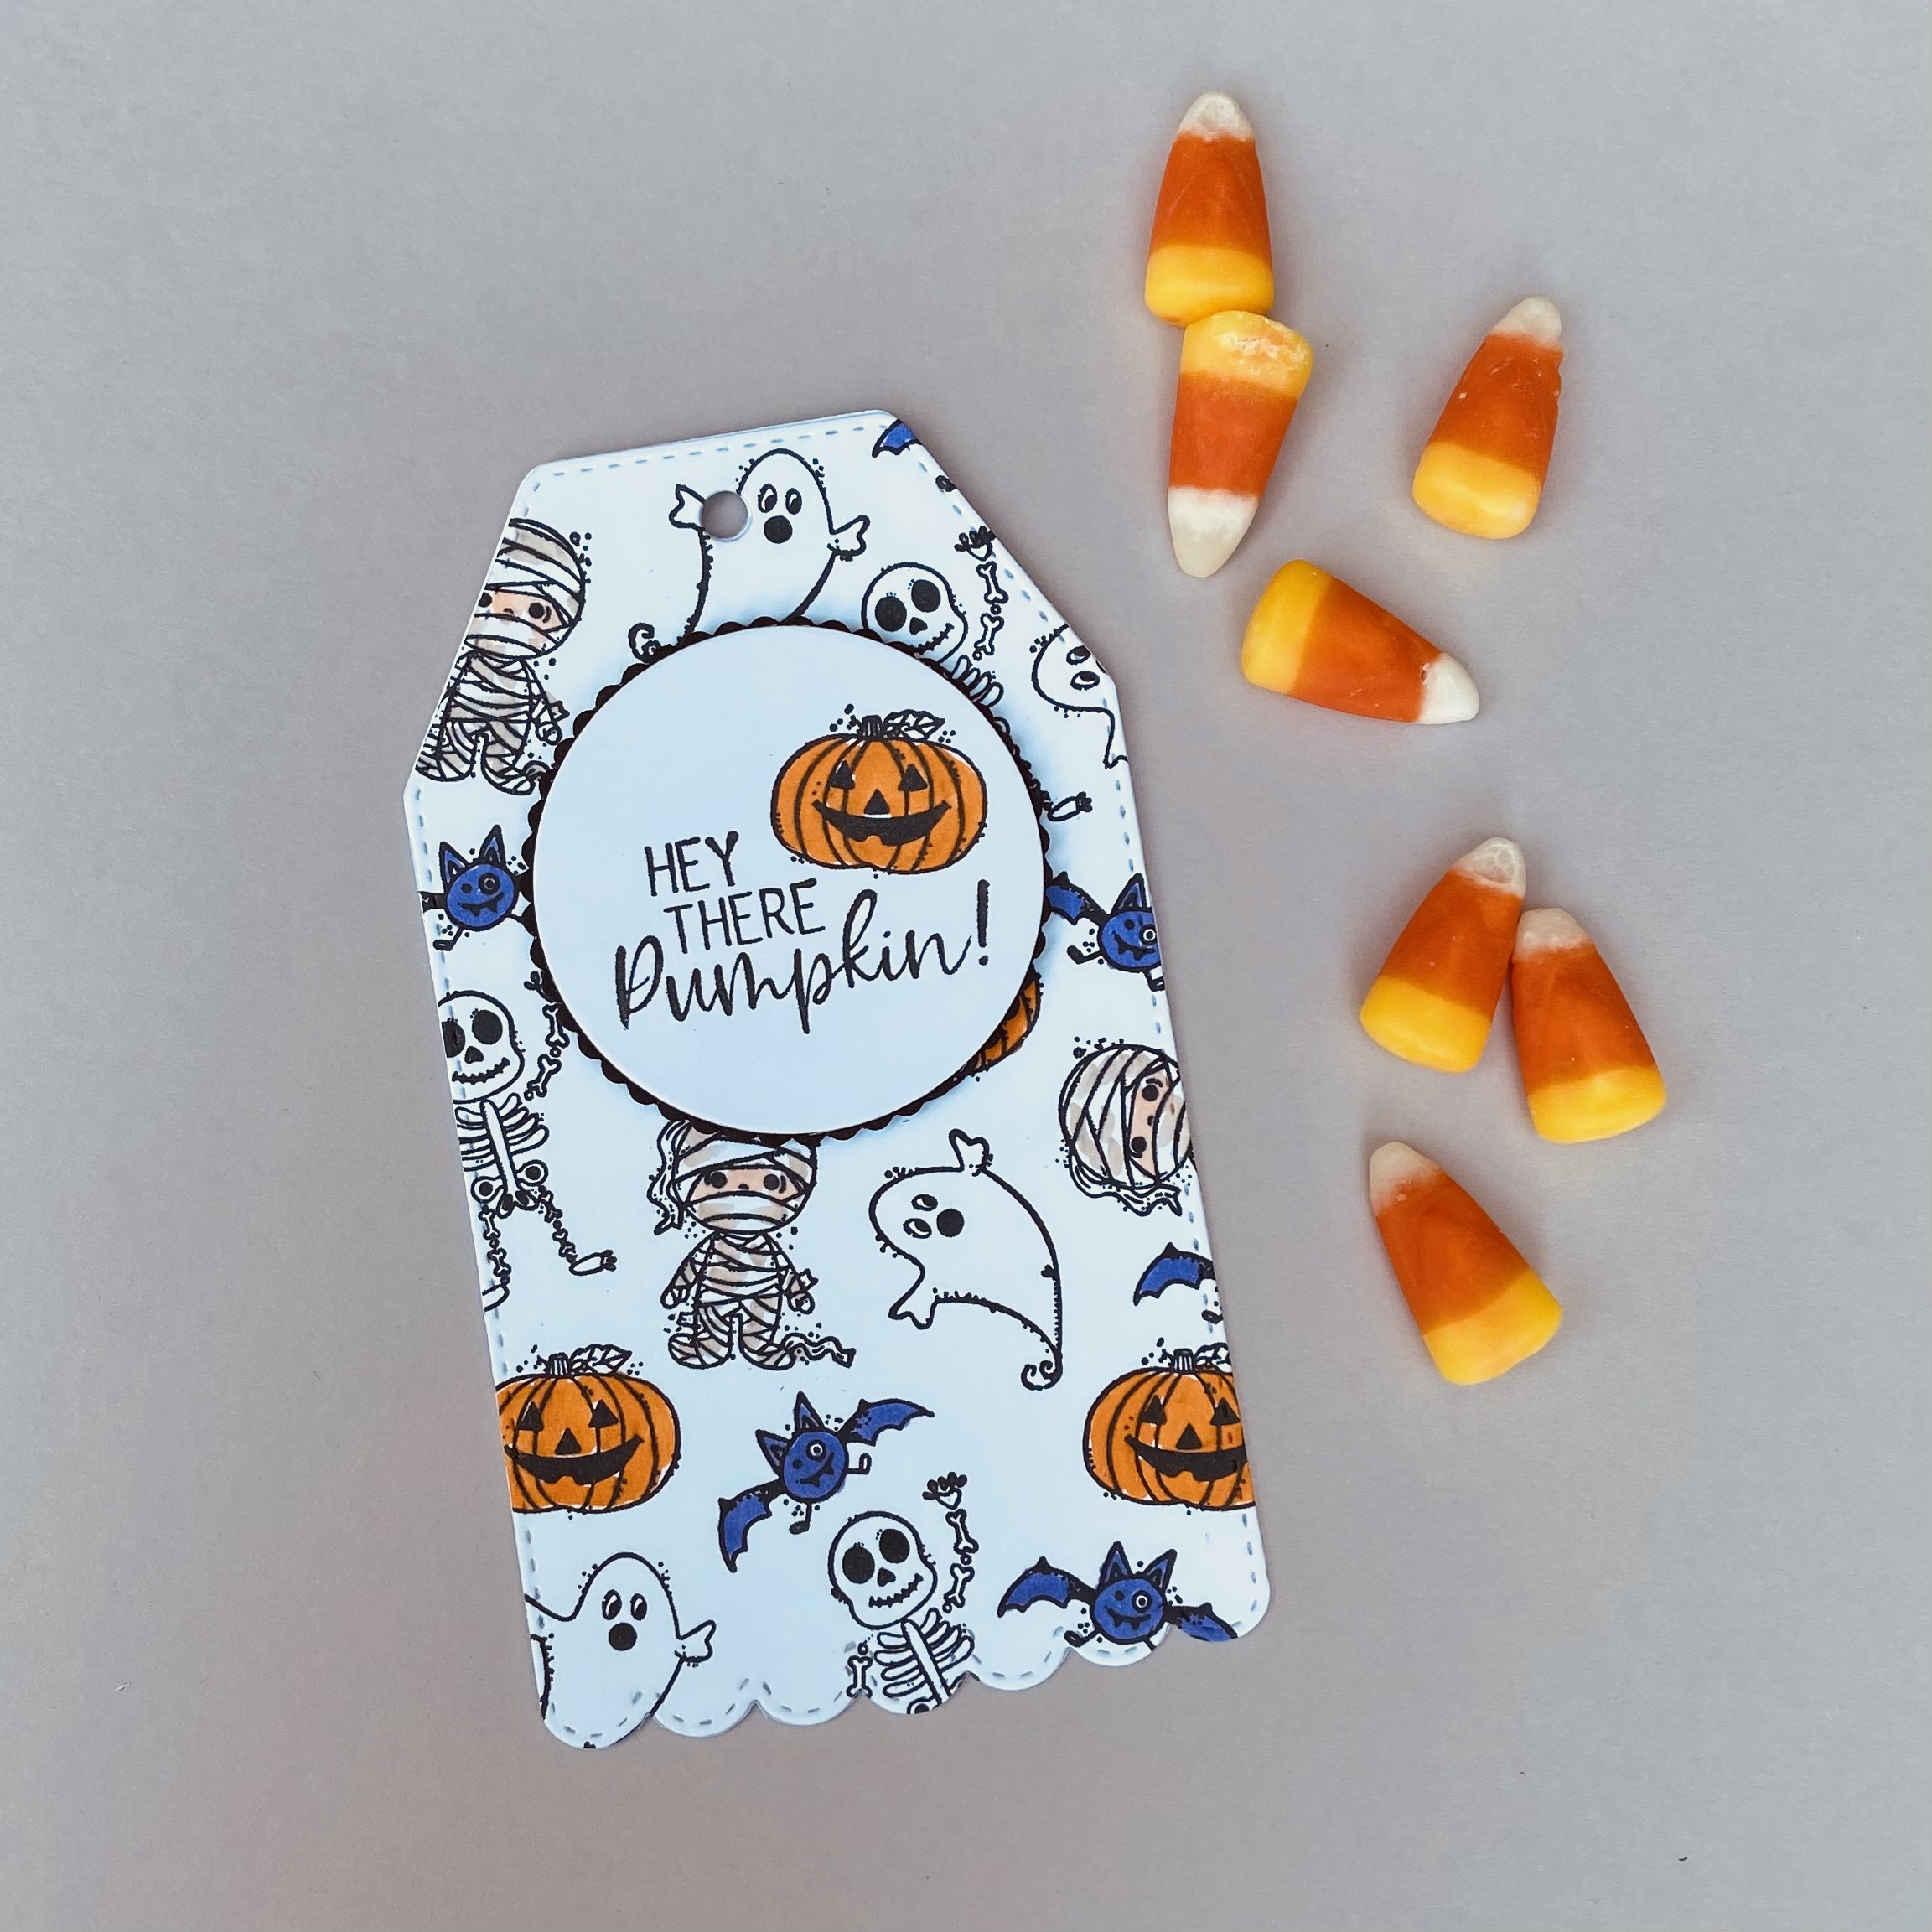
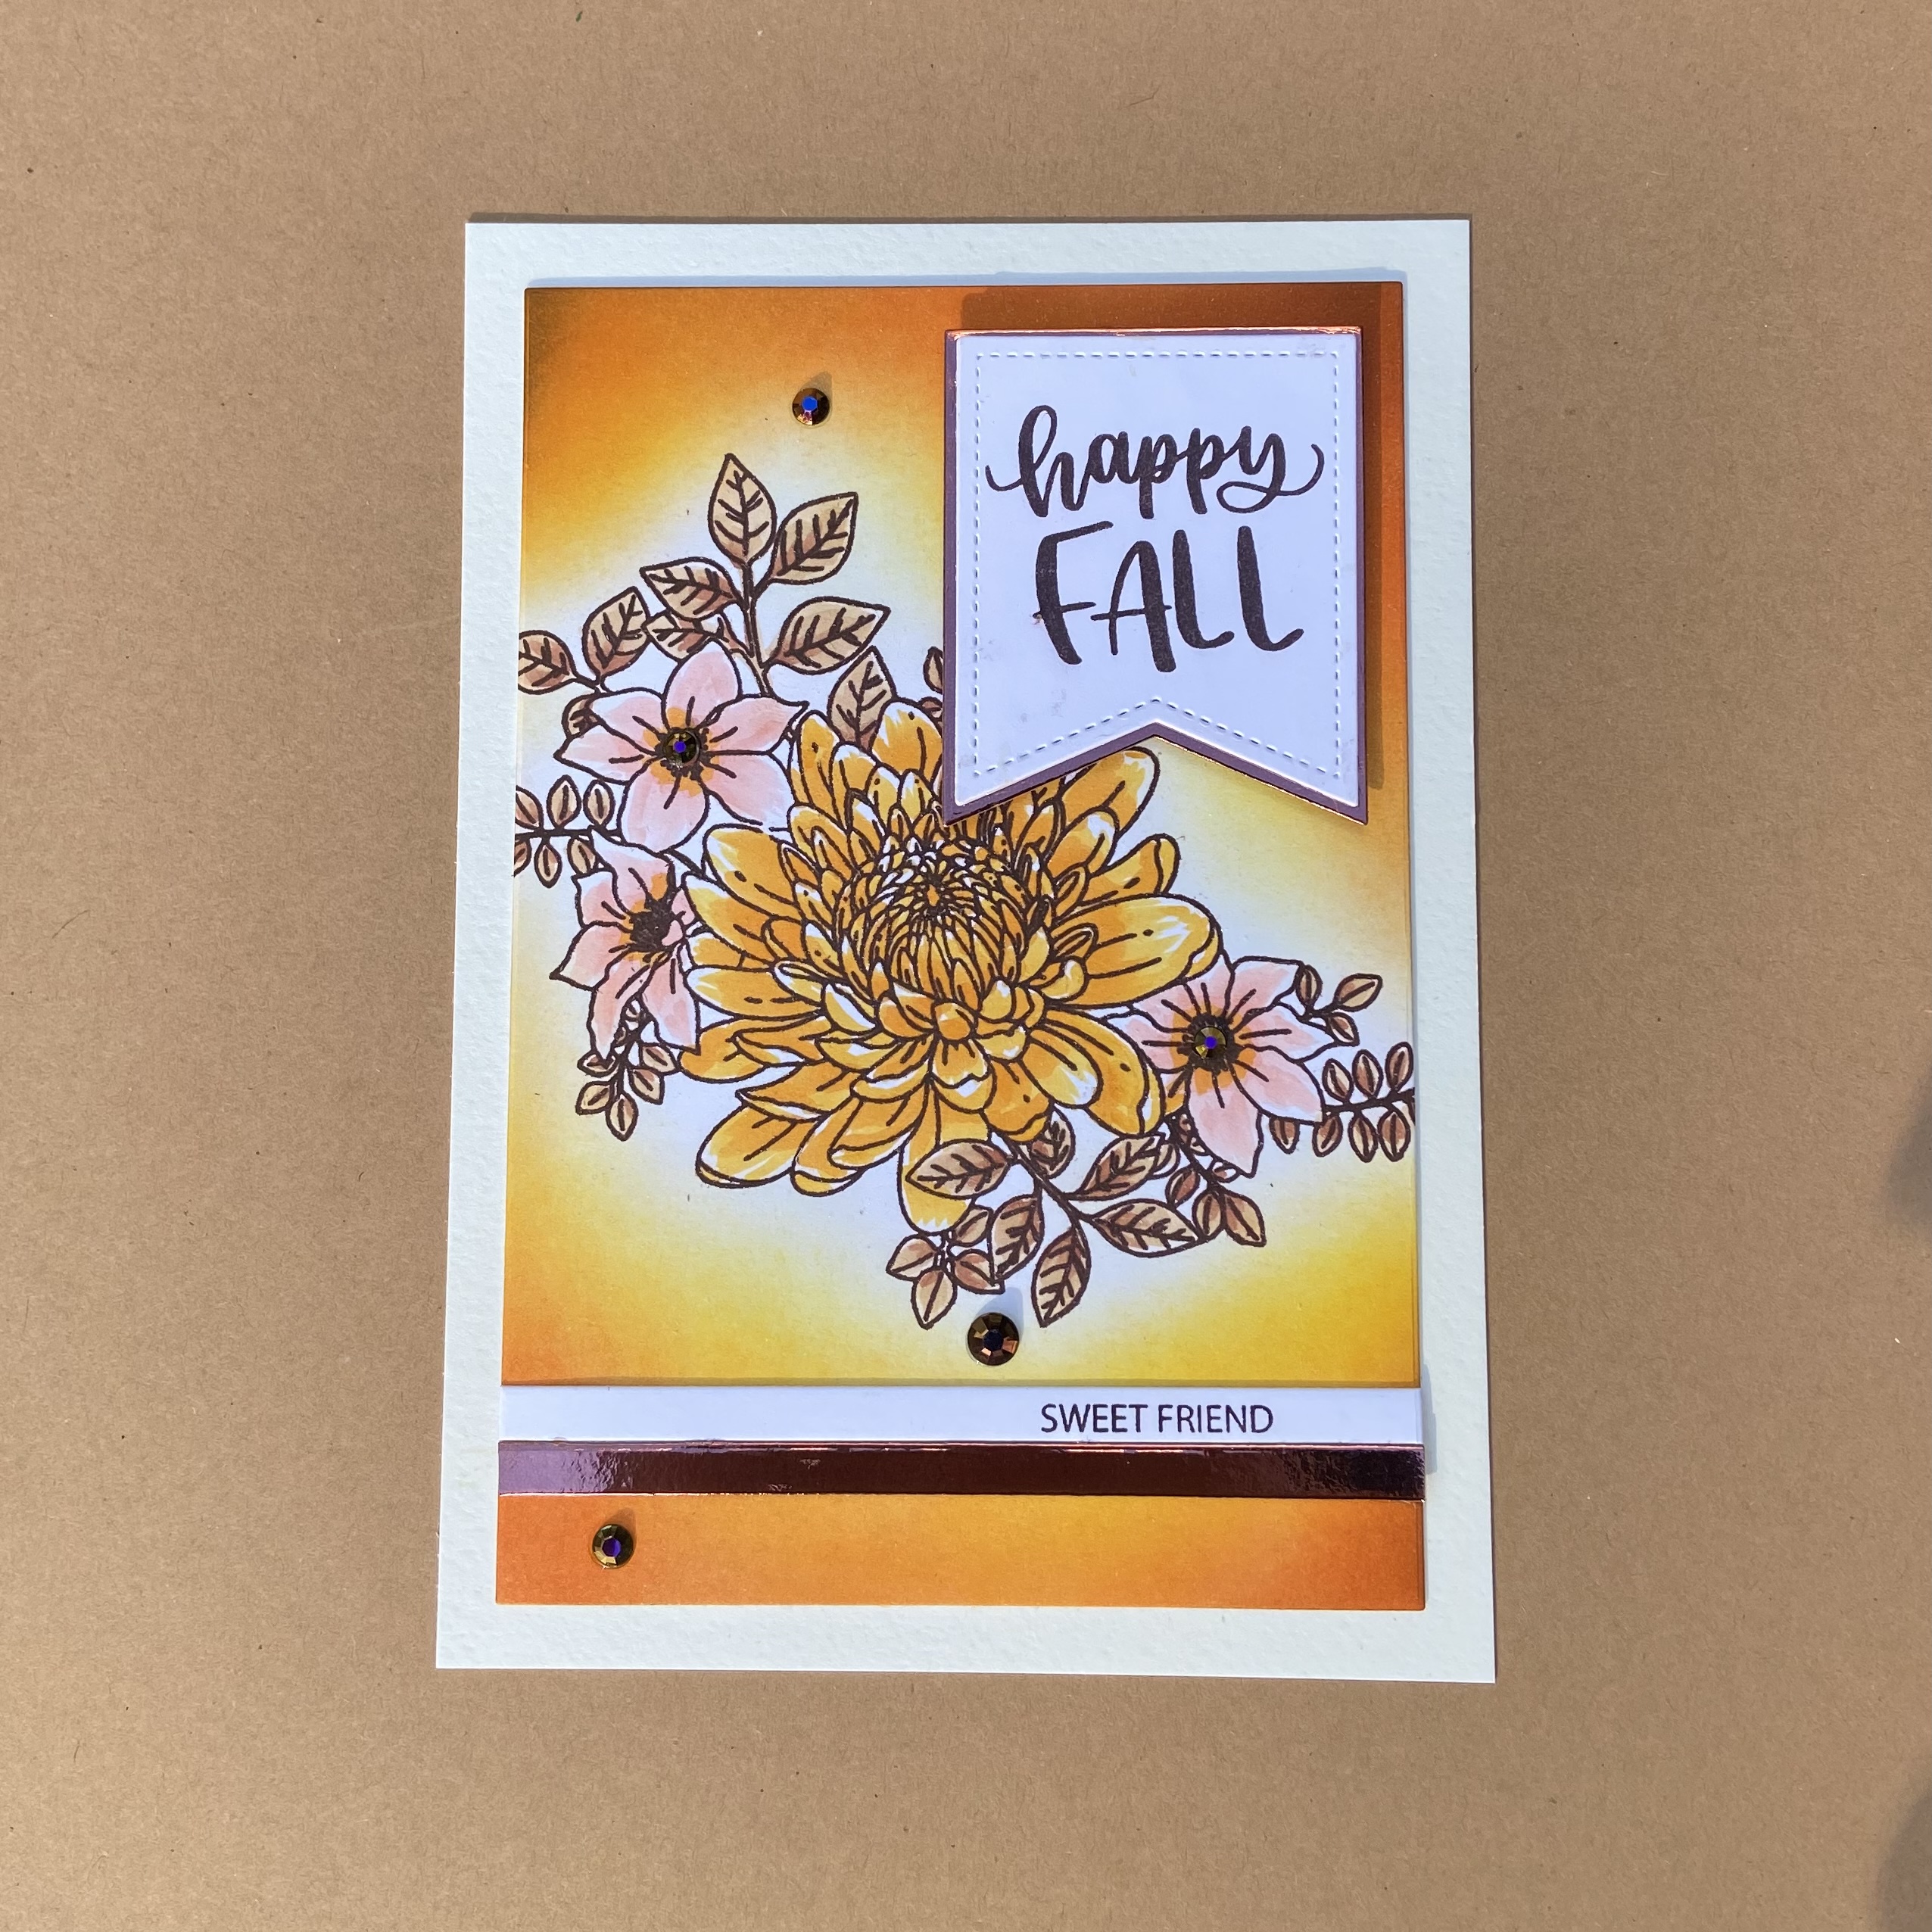
GinaK Designs Master Layout Die sets are truly a must have for card makers. Today I used Master Layouts 8 to make a 5×7 card. The banner is from Master Layout 4.

The gorgeous floral is Heartfelt Bouquet and I loosely colored it using Copic Markers. I used Wild Dandelion and Tangerine Twist to ink blend around the image. Then I used Warm Cocoa ink lightly around the edges for a autumn vibe. I added the “sweet friend” sentiment on a strip I die cut using the Master Layouts strip die as well as a copper foil strip to balance out the bottom of the card. The Happy Fall is from Thankful & Blessed i just love Emily’s handwritten sets. Lastly I added brown gems from my stash for a little sparkle and shine.

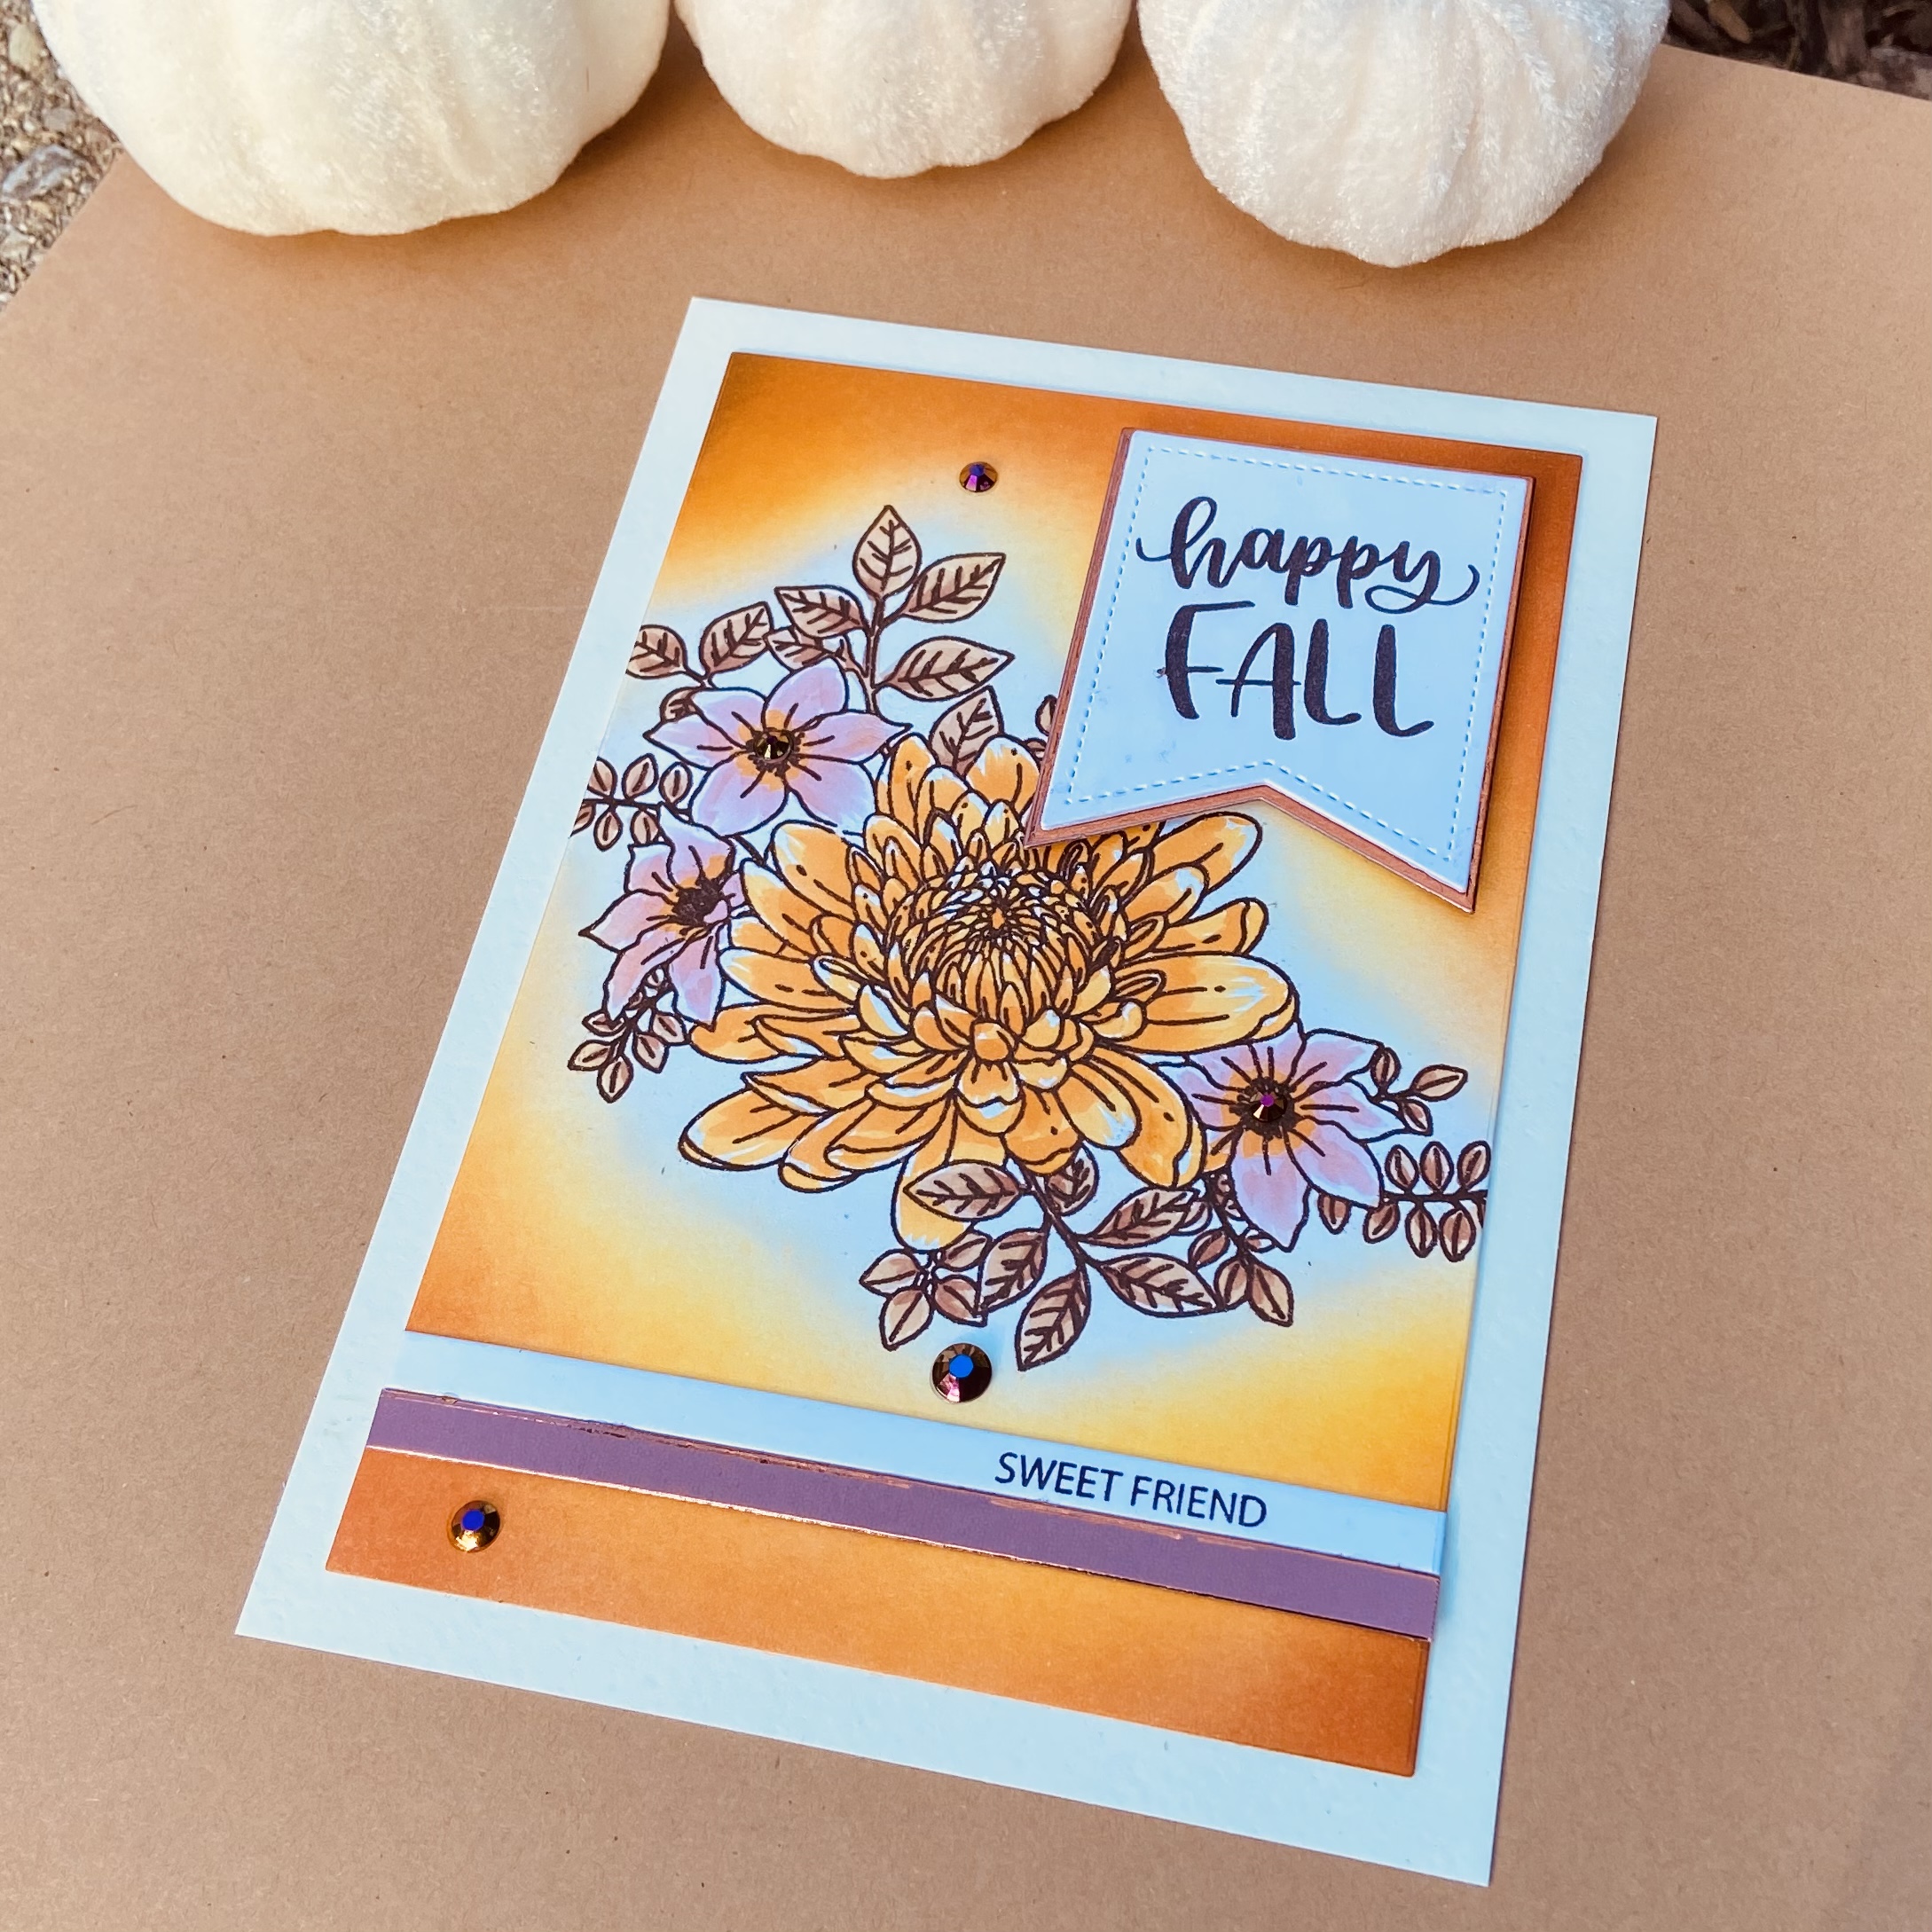
Here’s a tip how i keep the crisp lines when coloring. I stamp the image in a light Gina K Ink today I used Warm Cocoa. Then I ink blend and color my images. Next i place my panel back into the Misti and stamp over the image in Versafine Ink today I used the color Acorn. It’s a pigment ink so it sits on top of the card stock .

My last tip is that I spray my panel with Thermoweb Iridescent Ultra Fine Glitter Spray. It does two things adds a hint of sparkle and seals my project.

Thank you for stopping by if you’d like to see more of my card projects please subscribe. Hope you have a wonderful day!

Deco Foil Hello Adhesive Transfer

I really enjoy coloring and sometimes I’ll just stamp a bunch of images to practice coloring. I have a box of them and when I need a card I can flip through and just add a sentiment.

The adhesive foil sentiments by Thermoweb foil beautifully over Copic colored images. I love that I can match the foil to compliment my colored image. For this card I used a small piece of Rainbow Shattered Deco Foil for my sentiment.

Thanks for stopping by❤️

Eclipse Card Using Deco Foil Hello Stamp & Die

Good Morning I’m sharing an eclipse card I made using Unity Stamp Company’s Letting Go kit with the Hello stamp & Die by Thermoweb. The set has three different Hello’s I’m using the largest one for this card. I started my stamping the leaf image and Copic colored in autumn shades. Next I stamped the Hello slightly overlapping the leaf. I used the hello die to cut it out. I added some simple ink blending around the leaf panel and used the ”splotch” stamp from the Letting Go kit to add some texture. I took the leaf panel and sprayed it with Thermoweb Iridescent Ultra Fine Glitter Spray trust me this stuff is gorgeous andtakes you work to the next level. Then I glued a piece of card stock behind the leaf panel added the Hello die cut back into place with Thermoweb’s 1/8th thick foam tape. I stamped and die cut the sub sentiment die cut, lightly ink blended it and glued it directly to the panel with Thermoweb Ultra Bond glue it is my absolute favorite adhesive and use it for all my projects. Lastly I adhered it to a White card base.

Thank you so much for stopping by. I love how you can elevate a very simple card using with this Hello Stamp and Die set.❤️

Deco Foil HELLO Stamp & Die Set

As soon as I saw this set I knew I had to have it! This was designed by my talented friend Sue Doherty she’s a card maker and it shows this set it will work with all your card making supplies. I had this Unity Stamp Company Love and Bee Loved stamp on my desk and knew it would be perfect together.

I was able to alter the ”bee YOU tiful” sentiment by simply stamping the small hello die cutting it and strategically placing over the stamped image. I love the clean and simple font of the Hello it will work with any other font.

I used a hexagon 3D embossing folder by Sizzix the heart die is also from Unity Stamp Company. i added tons of subtle sparkle with Thermoweb’s Ultra Fine Glitter Spray. I used Gold on the embossed panel and Iridescent on the heart. It’s difficult to show in photos because its so subtle and that is what makes it perfection, it seals your work gives tons of sparkle but doesn’t distort you coloring like shimmer pens do. Lastly I added Diamond Stickles to the wings of the bees.🐝

Thank you so much for stopping by have a wonerful day❤️

Growing In Unity Day Five … Fall Gifts

Today is my last day as the featured GIU Gal. Thank you so much for hanging out with me this week. I’m sharing how I make quick packaging for gift cards and how I gift cards I’ve made for friends.

The first photos show how I like to gift cards. I buy this wooden box at Dollar Tree. I spray painted the outside with rose gold paint. I add 6 envelopes to the bottom and then place 6 cards on top. The insides are blank so I add a little glassine bag with die cut sentiments for the recipient to add if they choose. I use Thermoweb tear tape on the backs so they can peel off the release paper and glue it down. Many times I also don’t add a sentiment to the front so they can also choose to add the sentiment to the front as well. I die cut the heart and frills heart and added a sentiment and taped it to the bag. Next I use a tag I’ve made from my stash and place it on top. when I’m ready to gift it I just wrap ribbon or twine around the whole box to keep everything inside.

I’m terrible at mailing cards but love giving them away and this is an easy way to package and gift your cards.

I also like to have ready made gift card holders. Here are a couple examples. The first is a simple pillow box I purchased at Hobby Lobby. I simply added a heart I die cut with an image I Copic colored. I’ll add a sentiment when I know who I’m giving it too. The tree is from the July 2021 Sentiment Kit Tree Of Love, it is one of my absolute favorites for the image and the awesome sentiments.

My final projects are gift card holders for giving coffee or tea gift cards. Its by Scrap Diva Designs she has some amazing dies and this one is my favorite! It’s big almost 6 inches tall and Unity Stamps are perfect for this.

Thank you so much for stopping by. I hope some of my ways to package your beautiful creations inspire you.

Growing In Unity Day Four … Halloween

Here’s a fun and quick way to use Unity Stamps to make projects with your kids. I made these with my nephew Noah over the past weekend. We are making 20 Halloween buckets for his Second Grade Class. I will share the finished gift when they are finished if you’d like to see it subscribe to my blog and you will be notified when I post it. I used a stamp block and Versafine Clair in Nocturne to stamp all the tags. Then we did super simple coloring Noah is seven and if we craft for more than 45 minutes he calls it work! We were able to make all these and a few more while watching Sing 2. All the images are from Unity’s Stamp Kit ” Little Boos”.