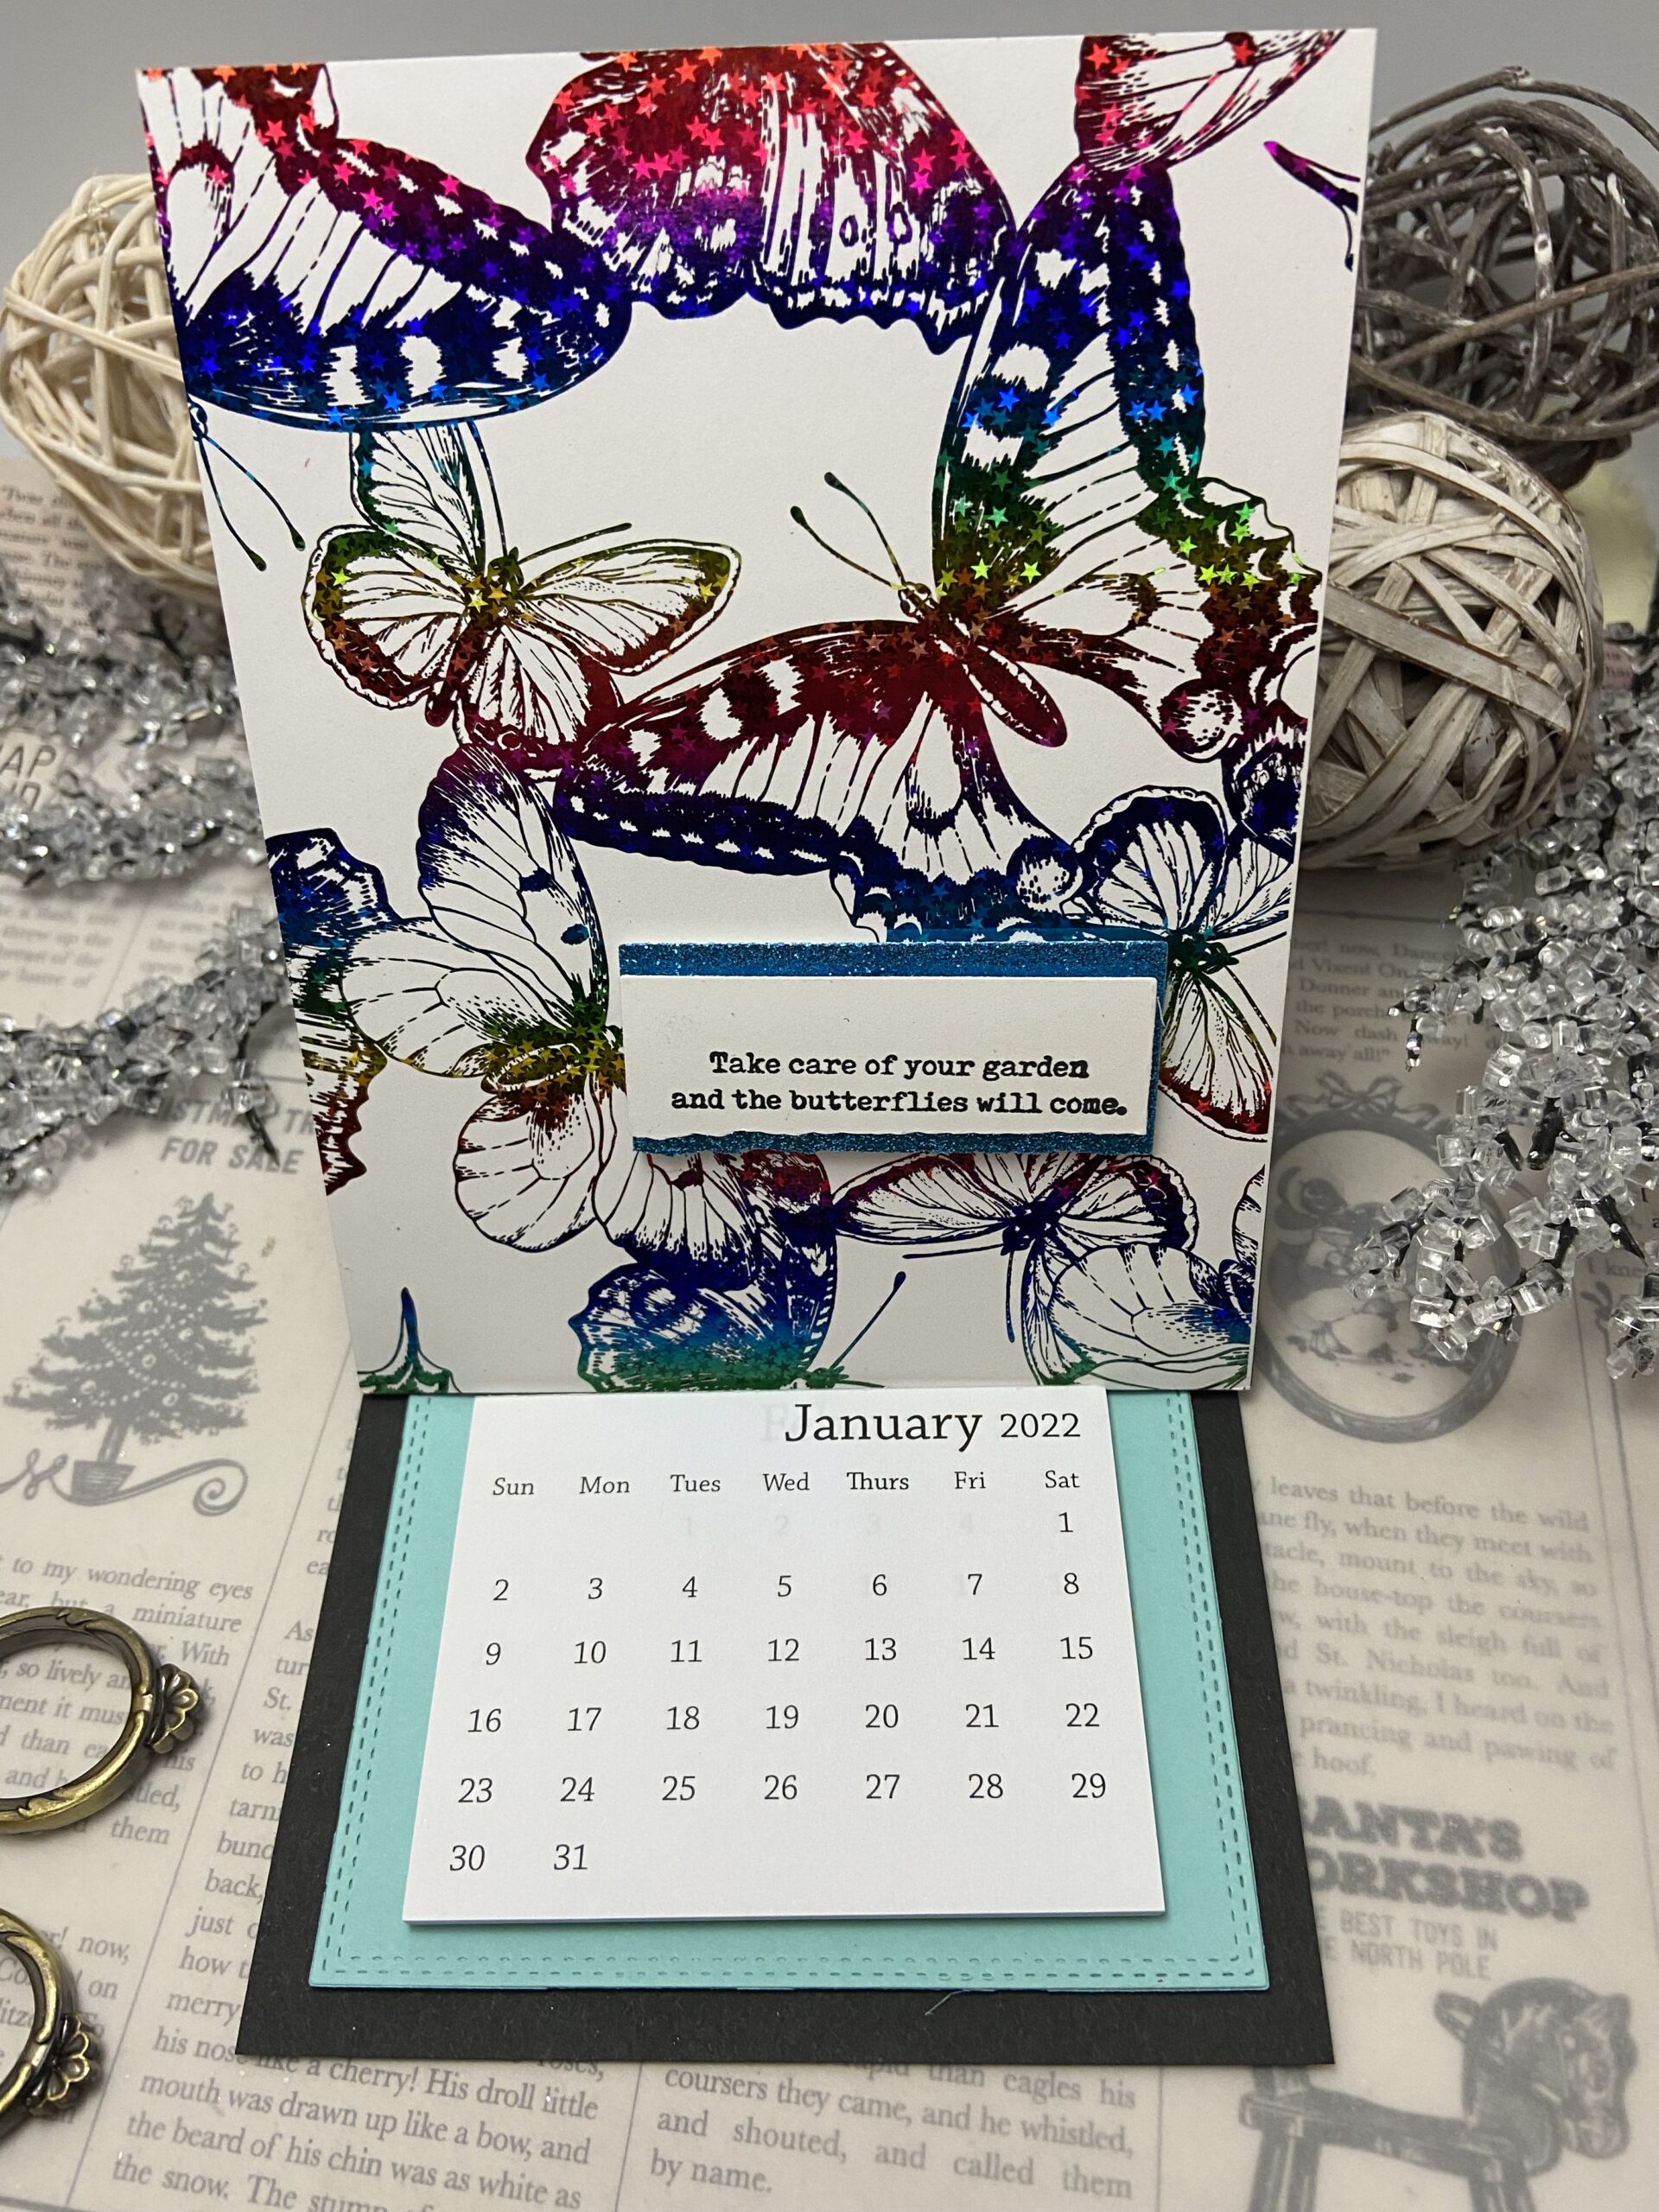
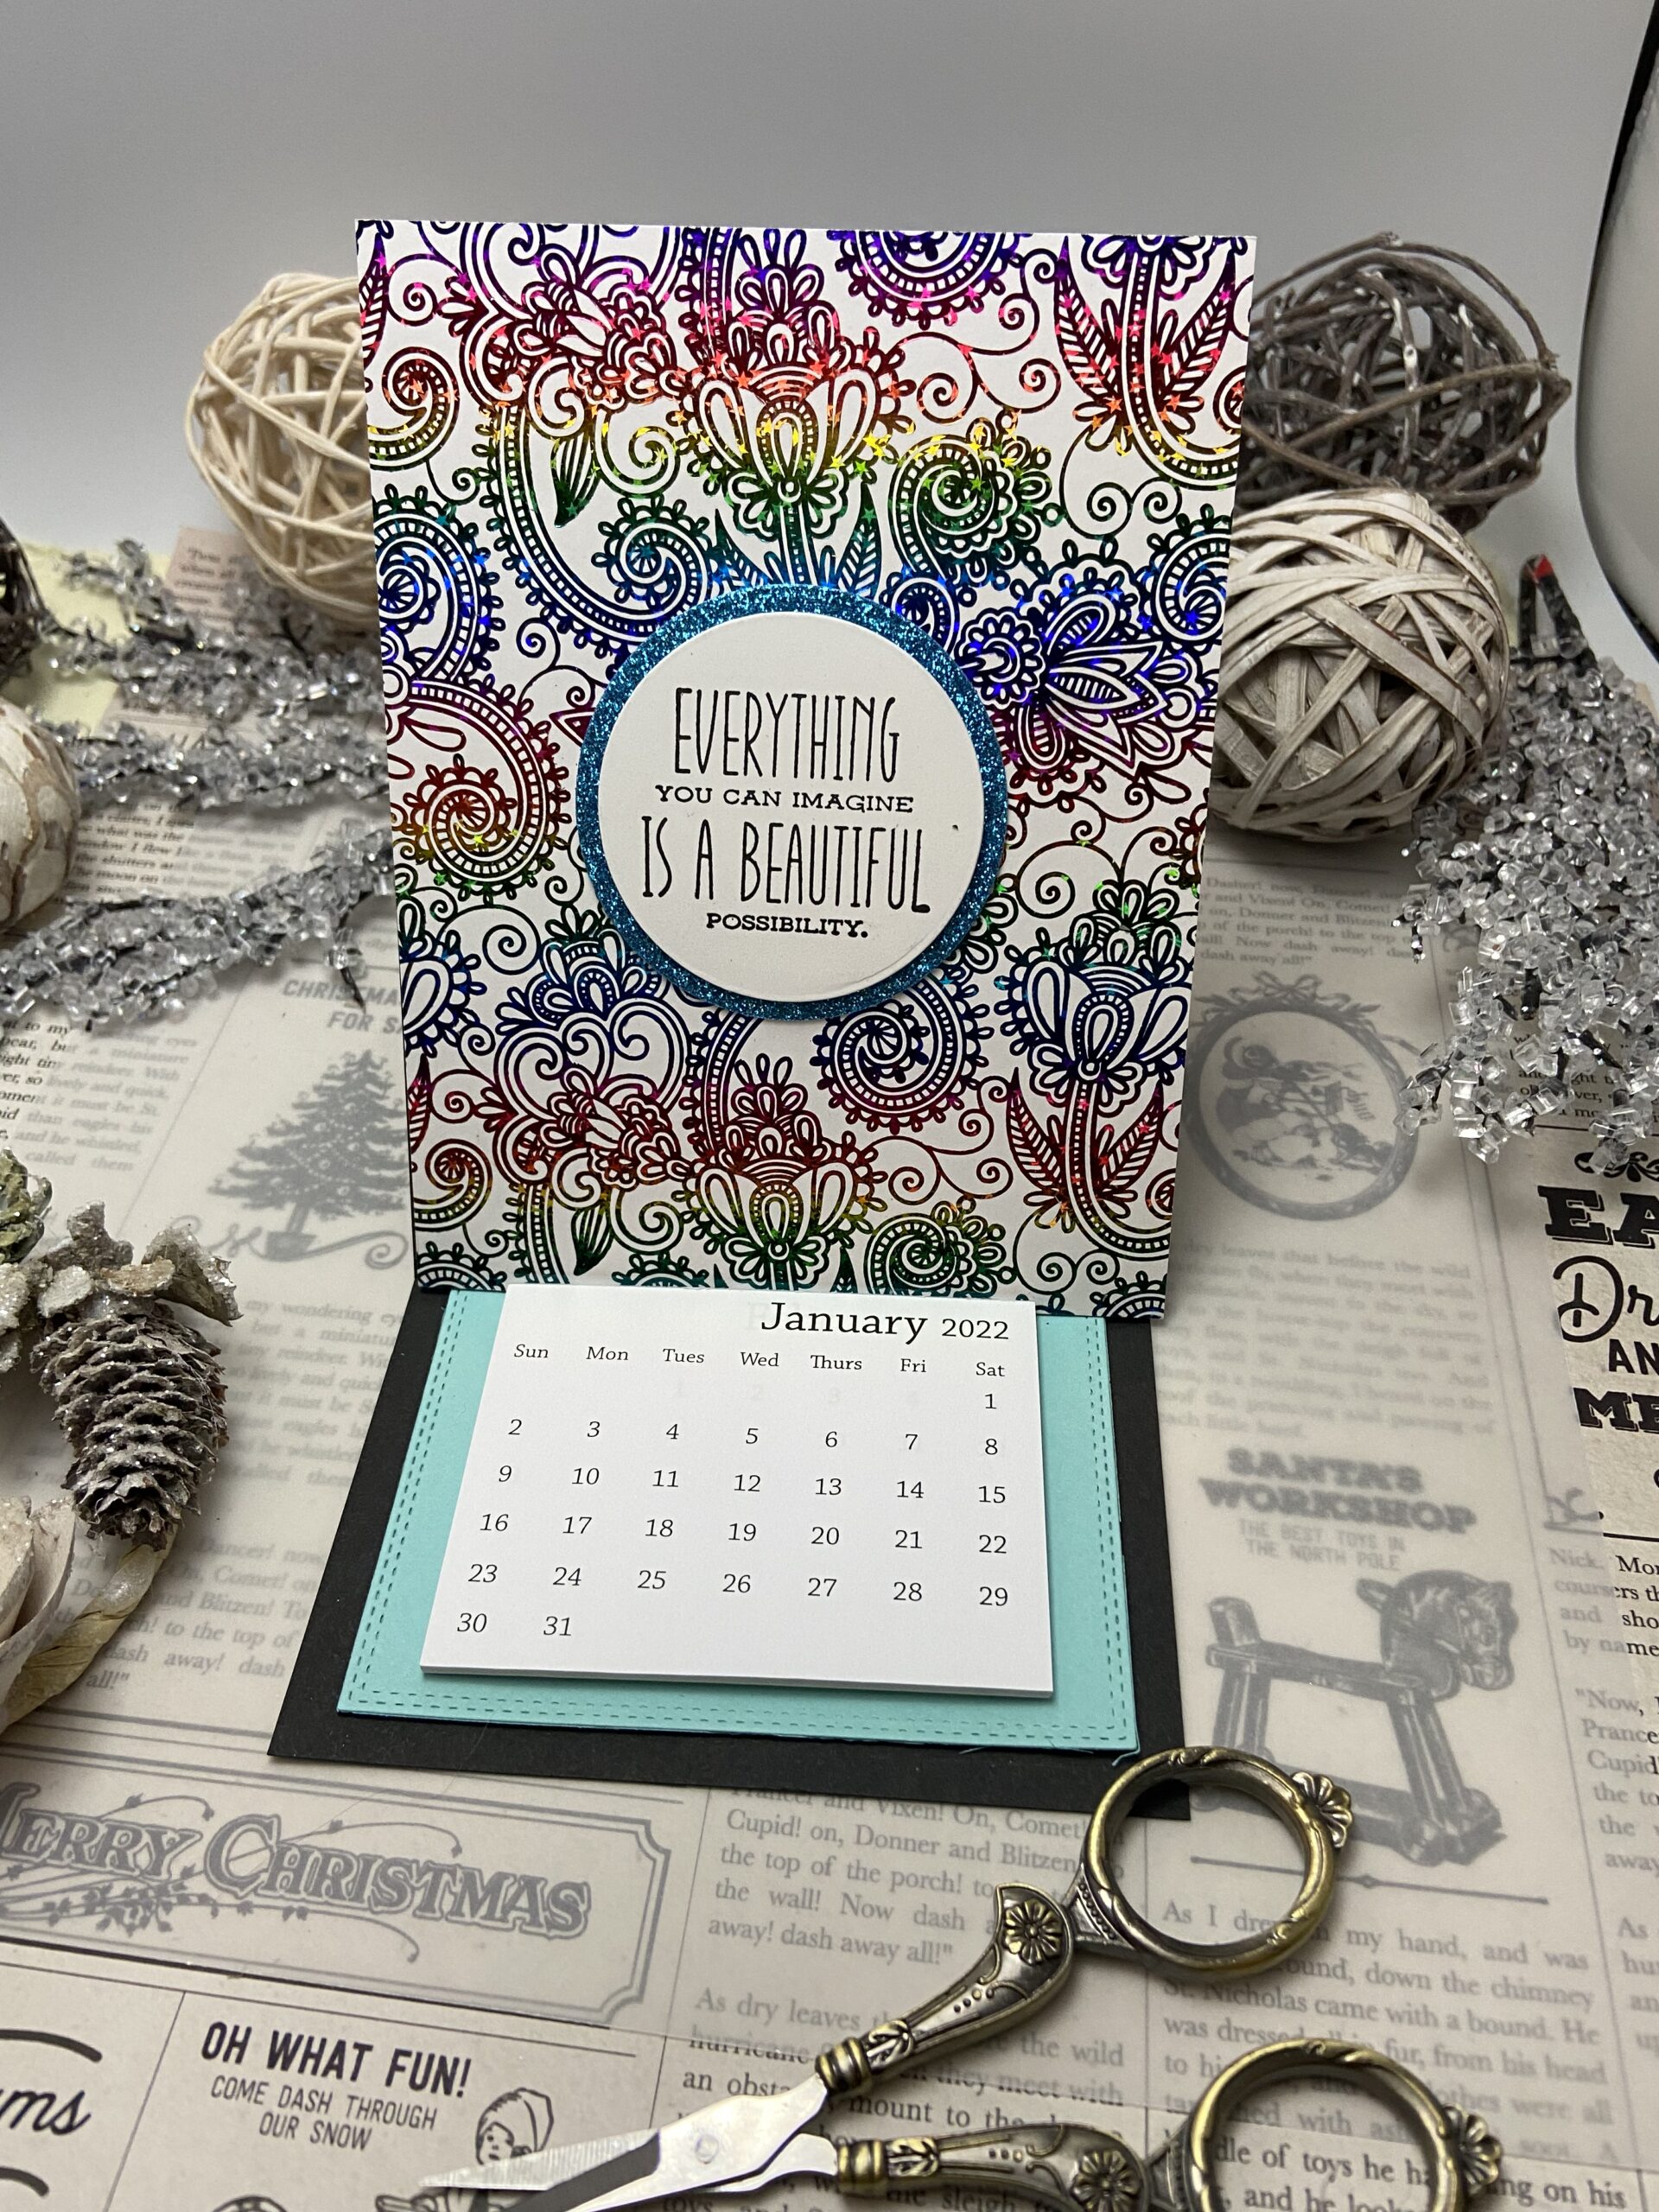
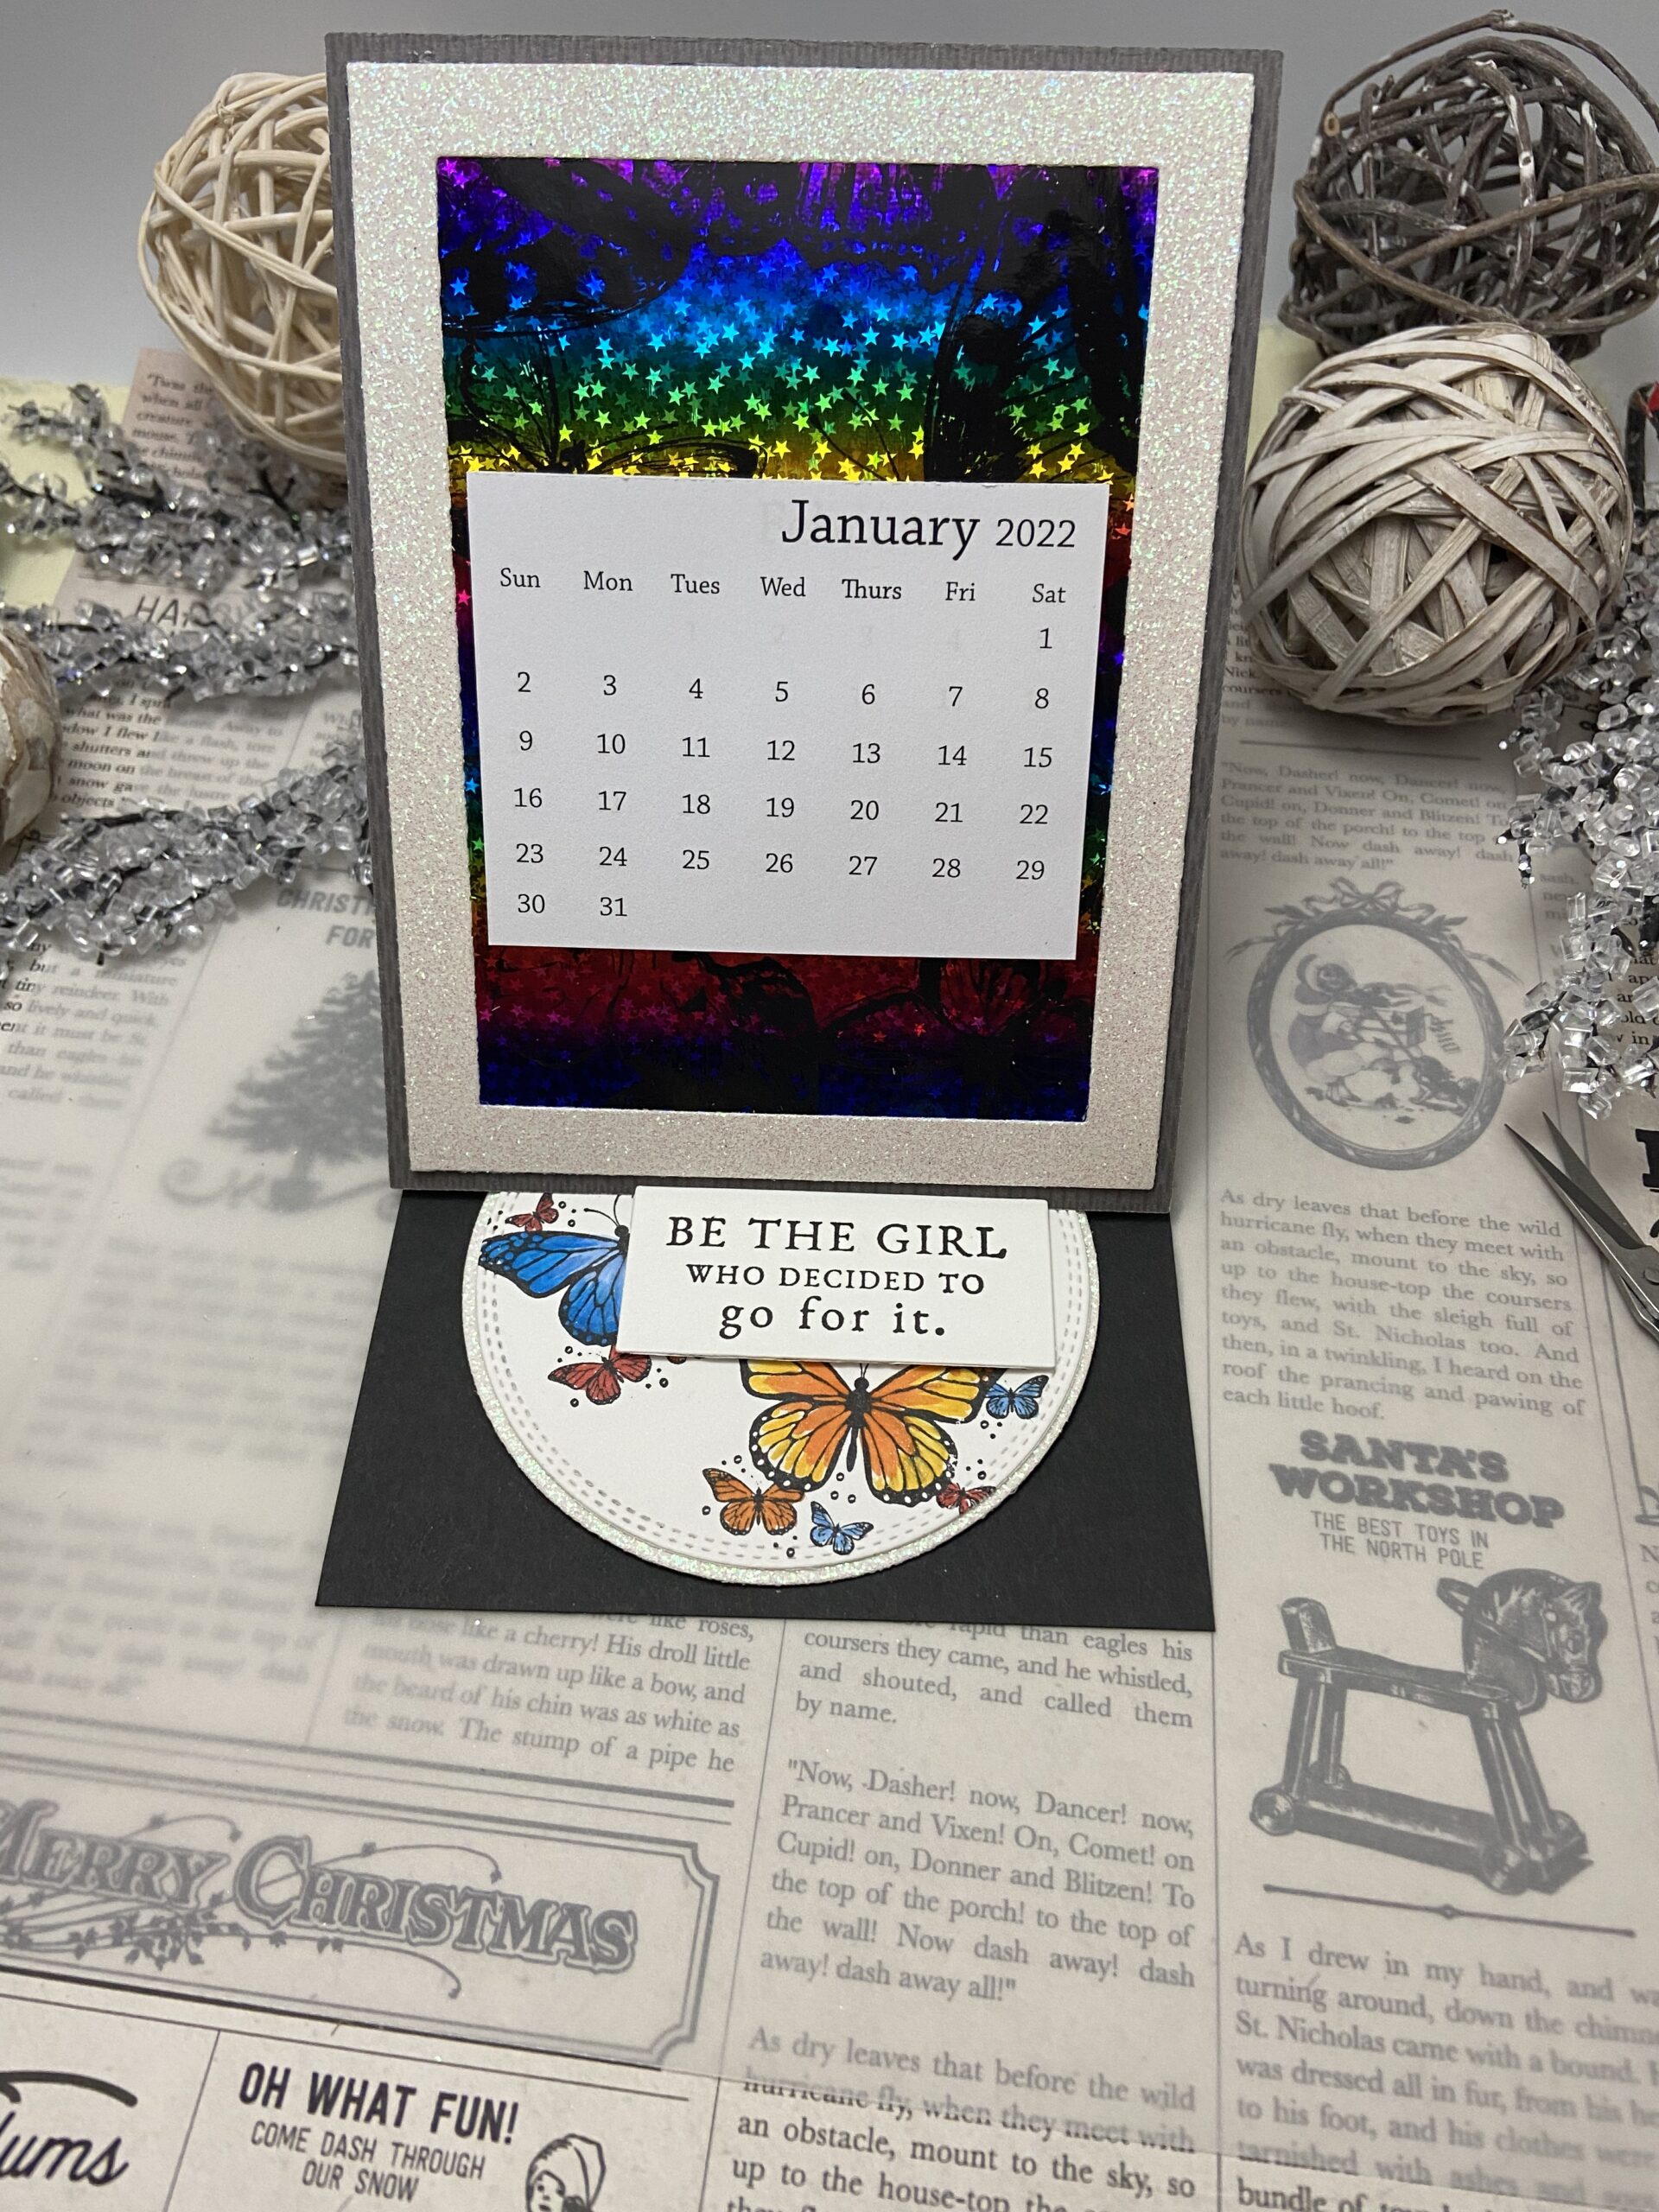
Creating gifts with your card making supplies is a great way to make quick and easy gifts for friends and family. I made thirty of these calendars they look like a card but when you open them they are the cutest little desk calendar and the recipient can admire it for the whole year. The mini calendars can be found on the Taylored Expressions website.
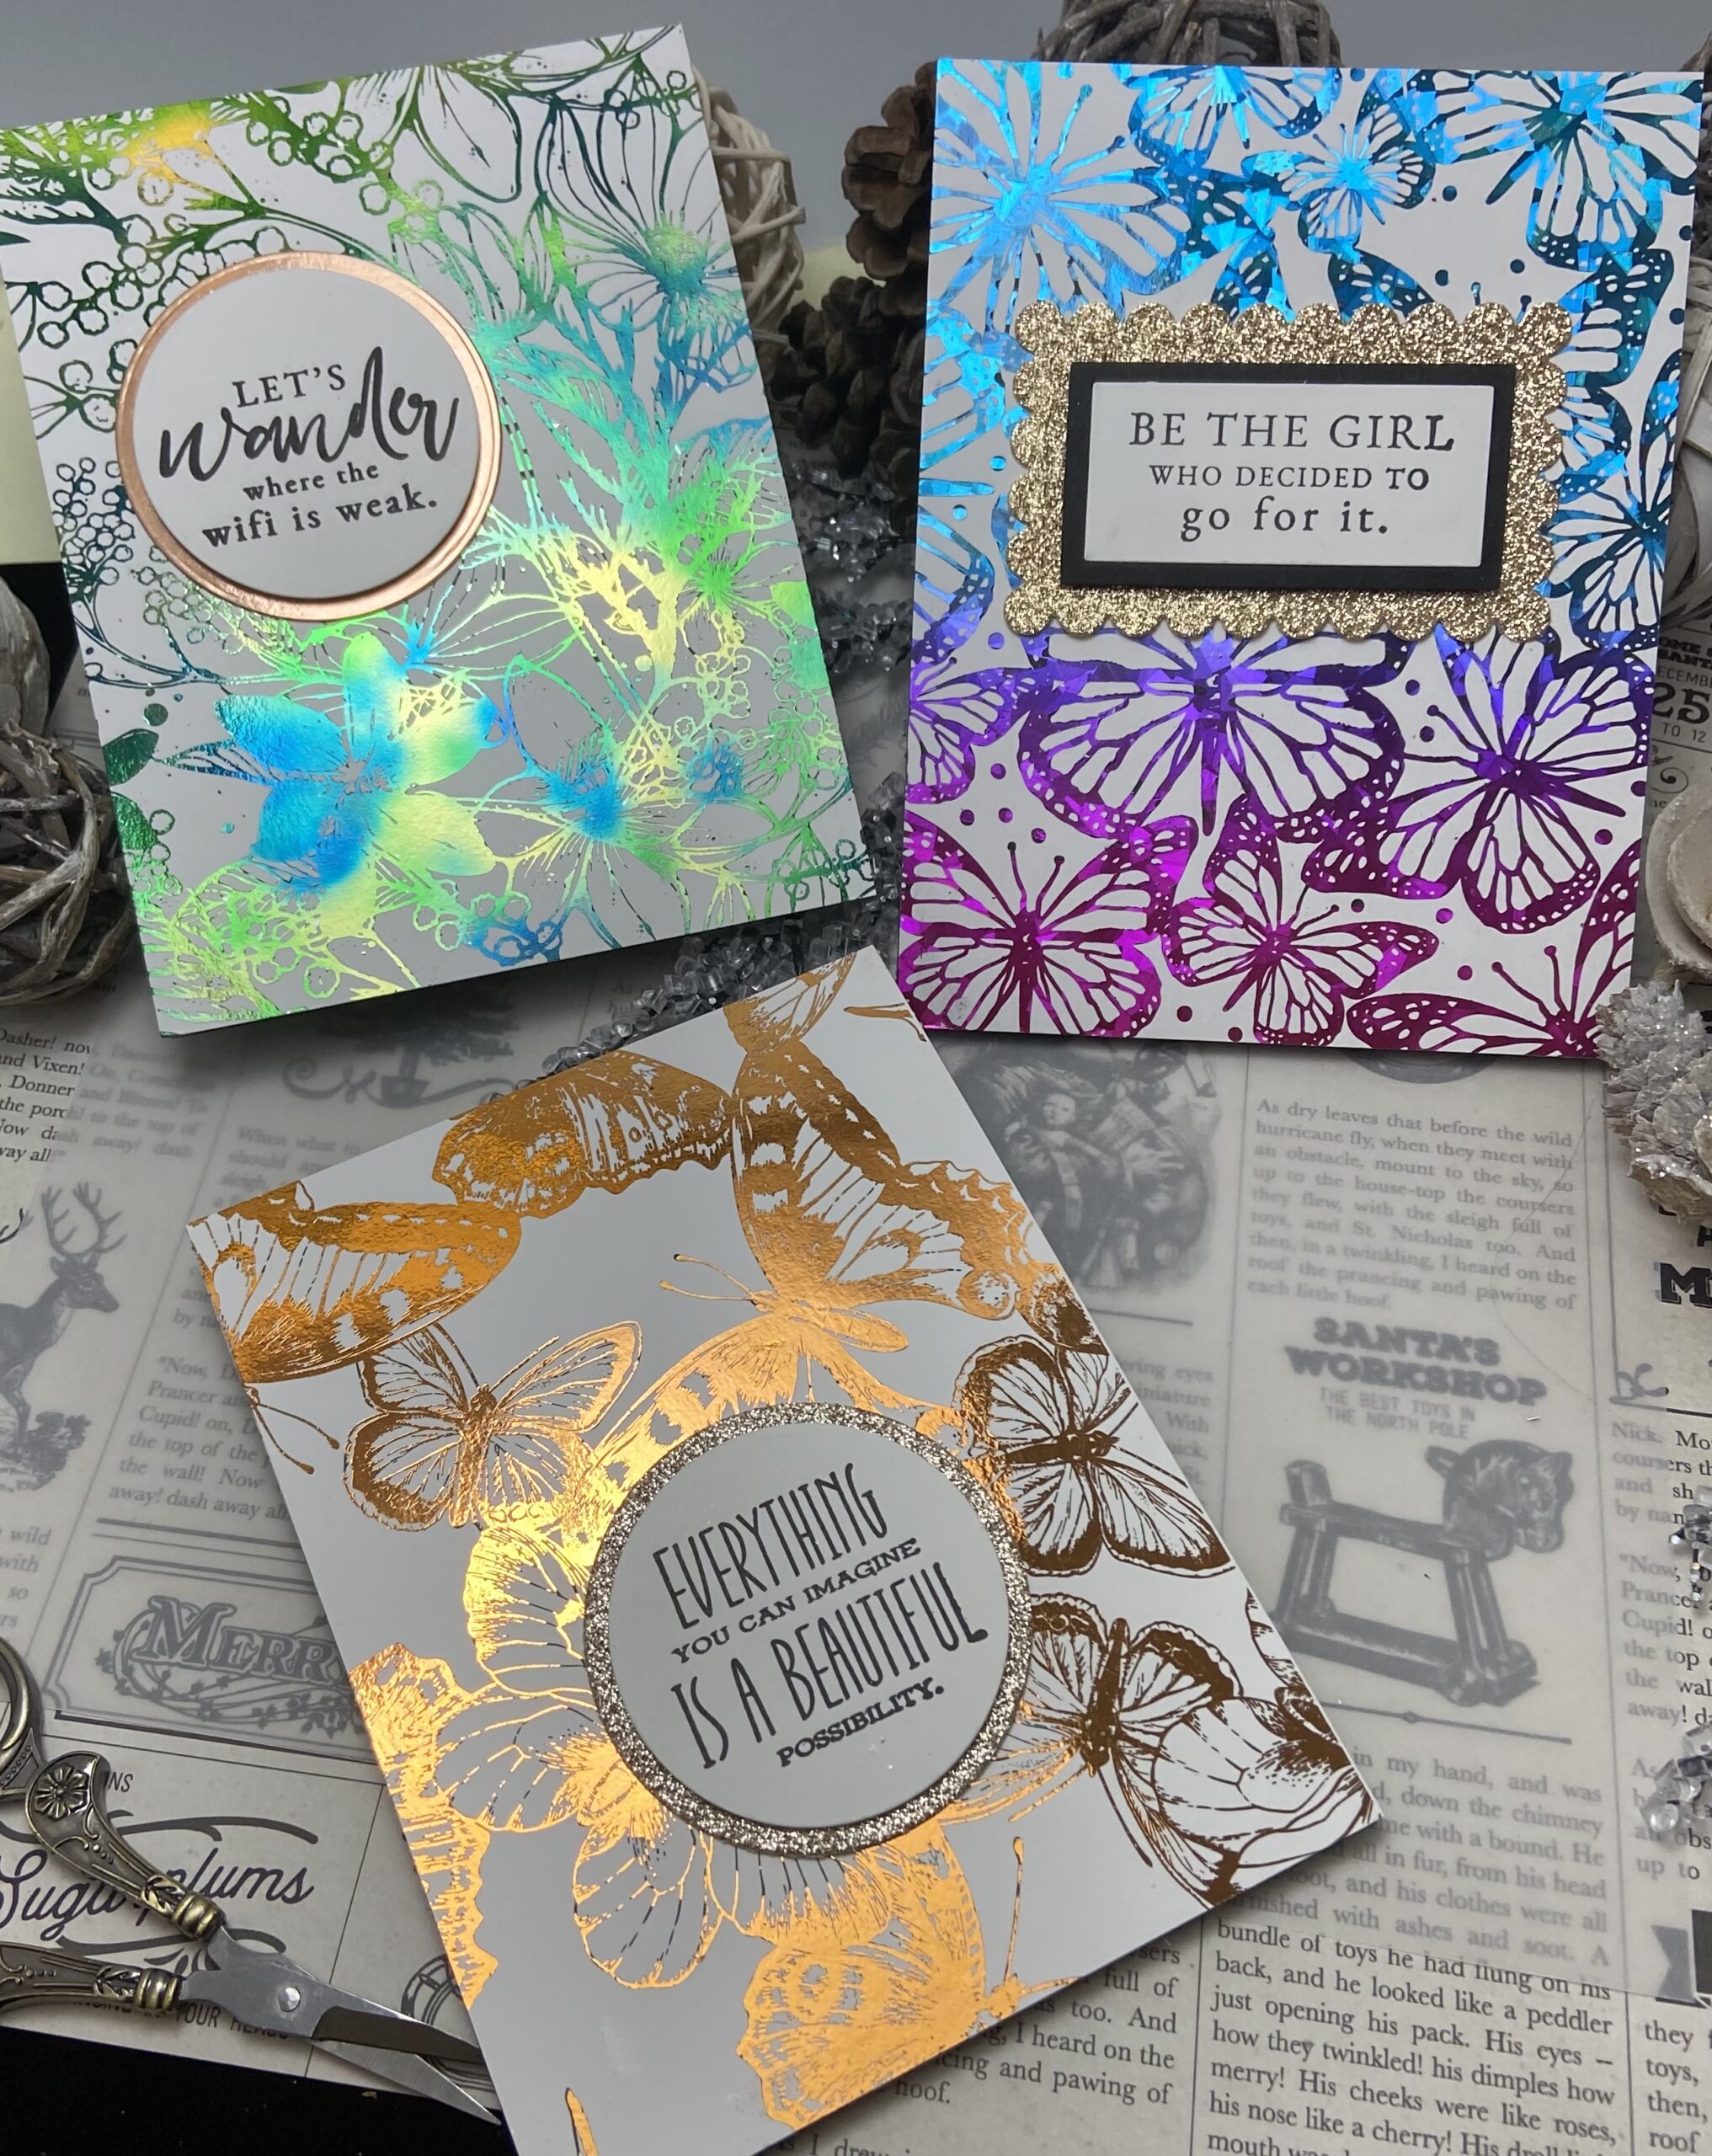
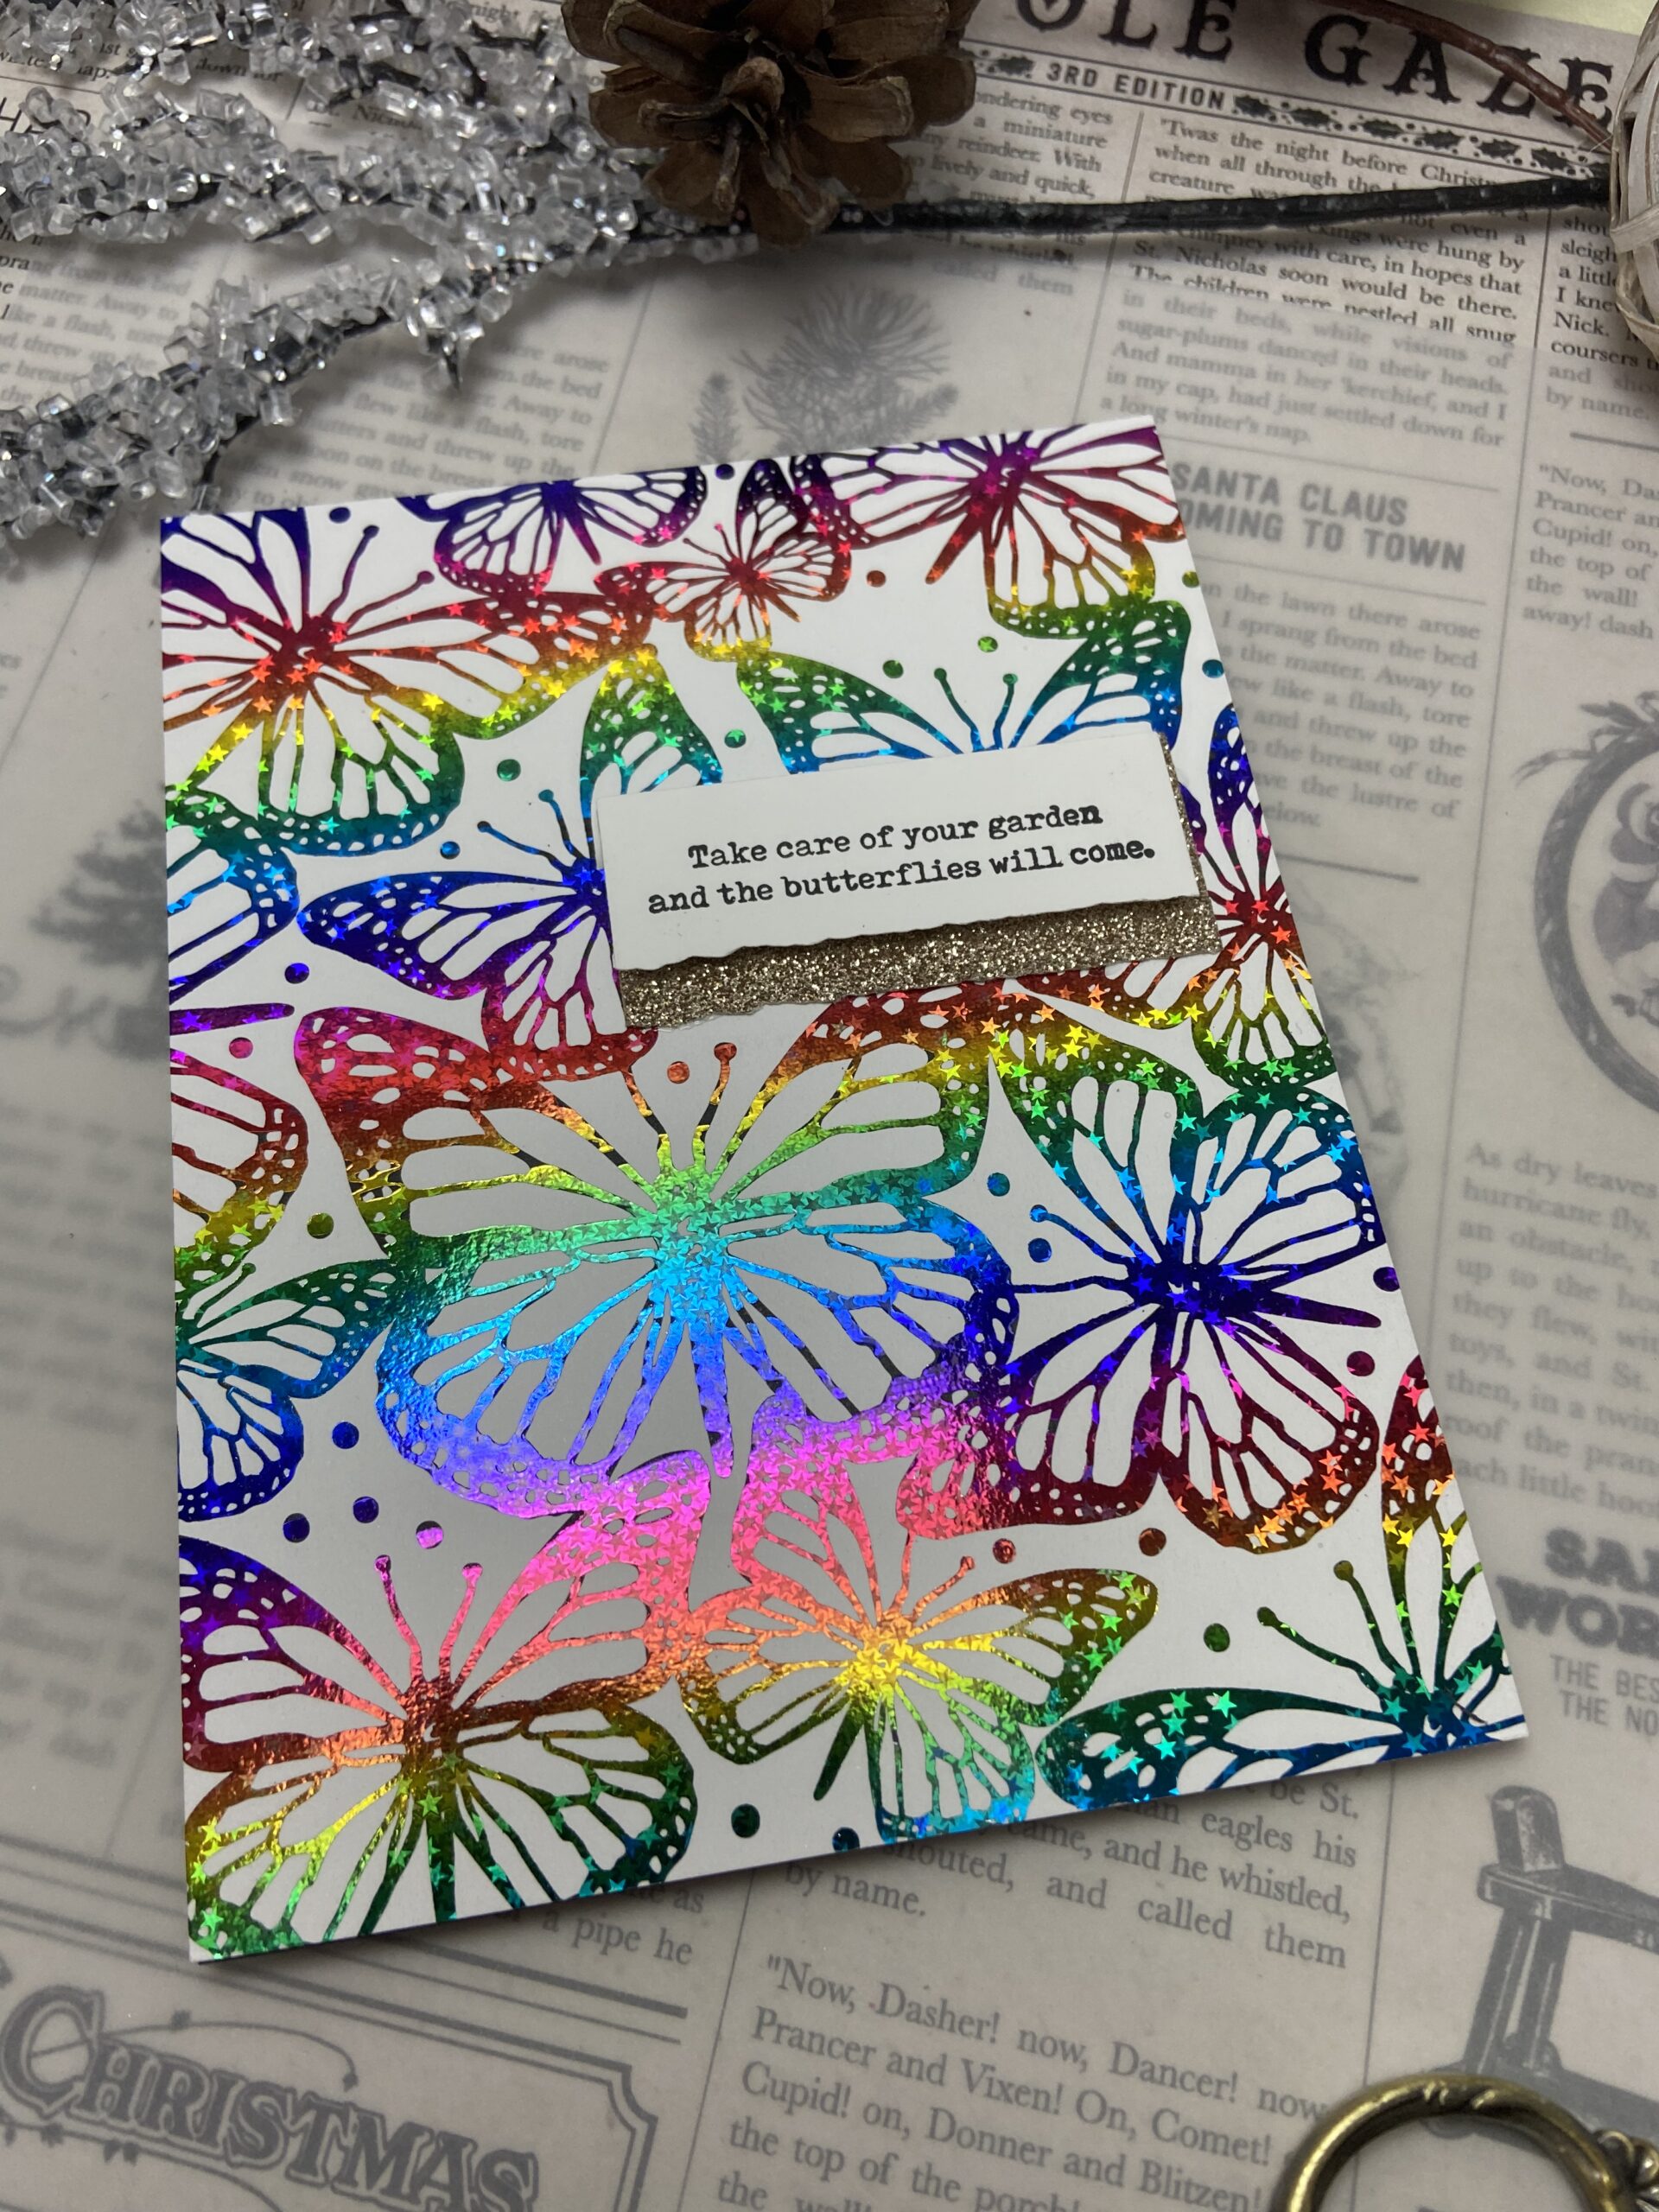
I started by pulling out some of my favorite toner card fronts from Therm O Web and matched images with foils. I knew I was going to be making lots of these so I chose a variety of foil colors making sure I had both masculine and feminine looks. I also saved all the negative foil pieces because I was going to use those as well.
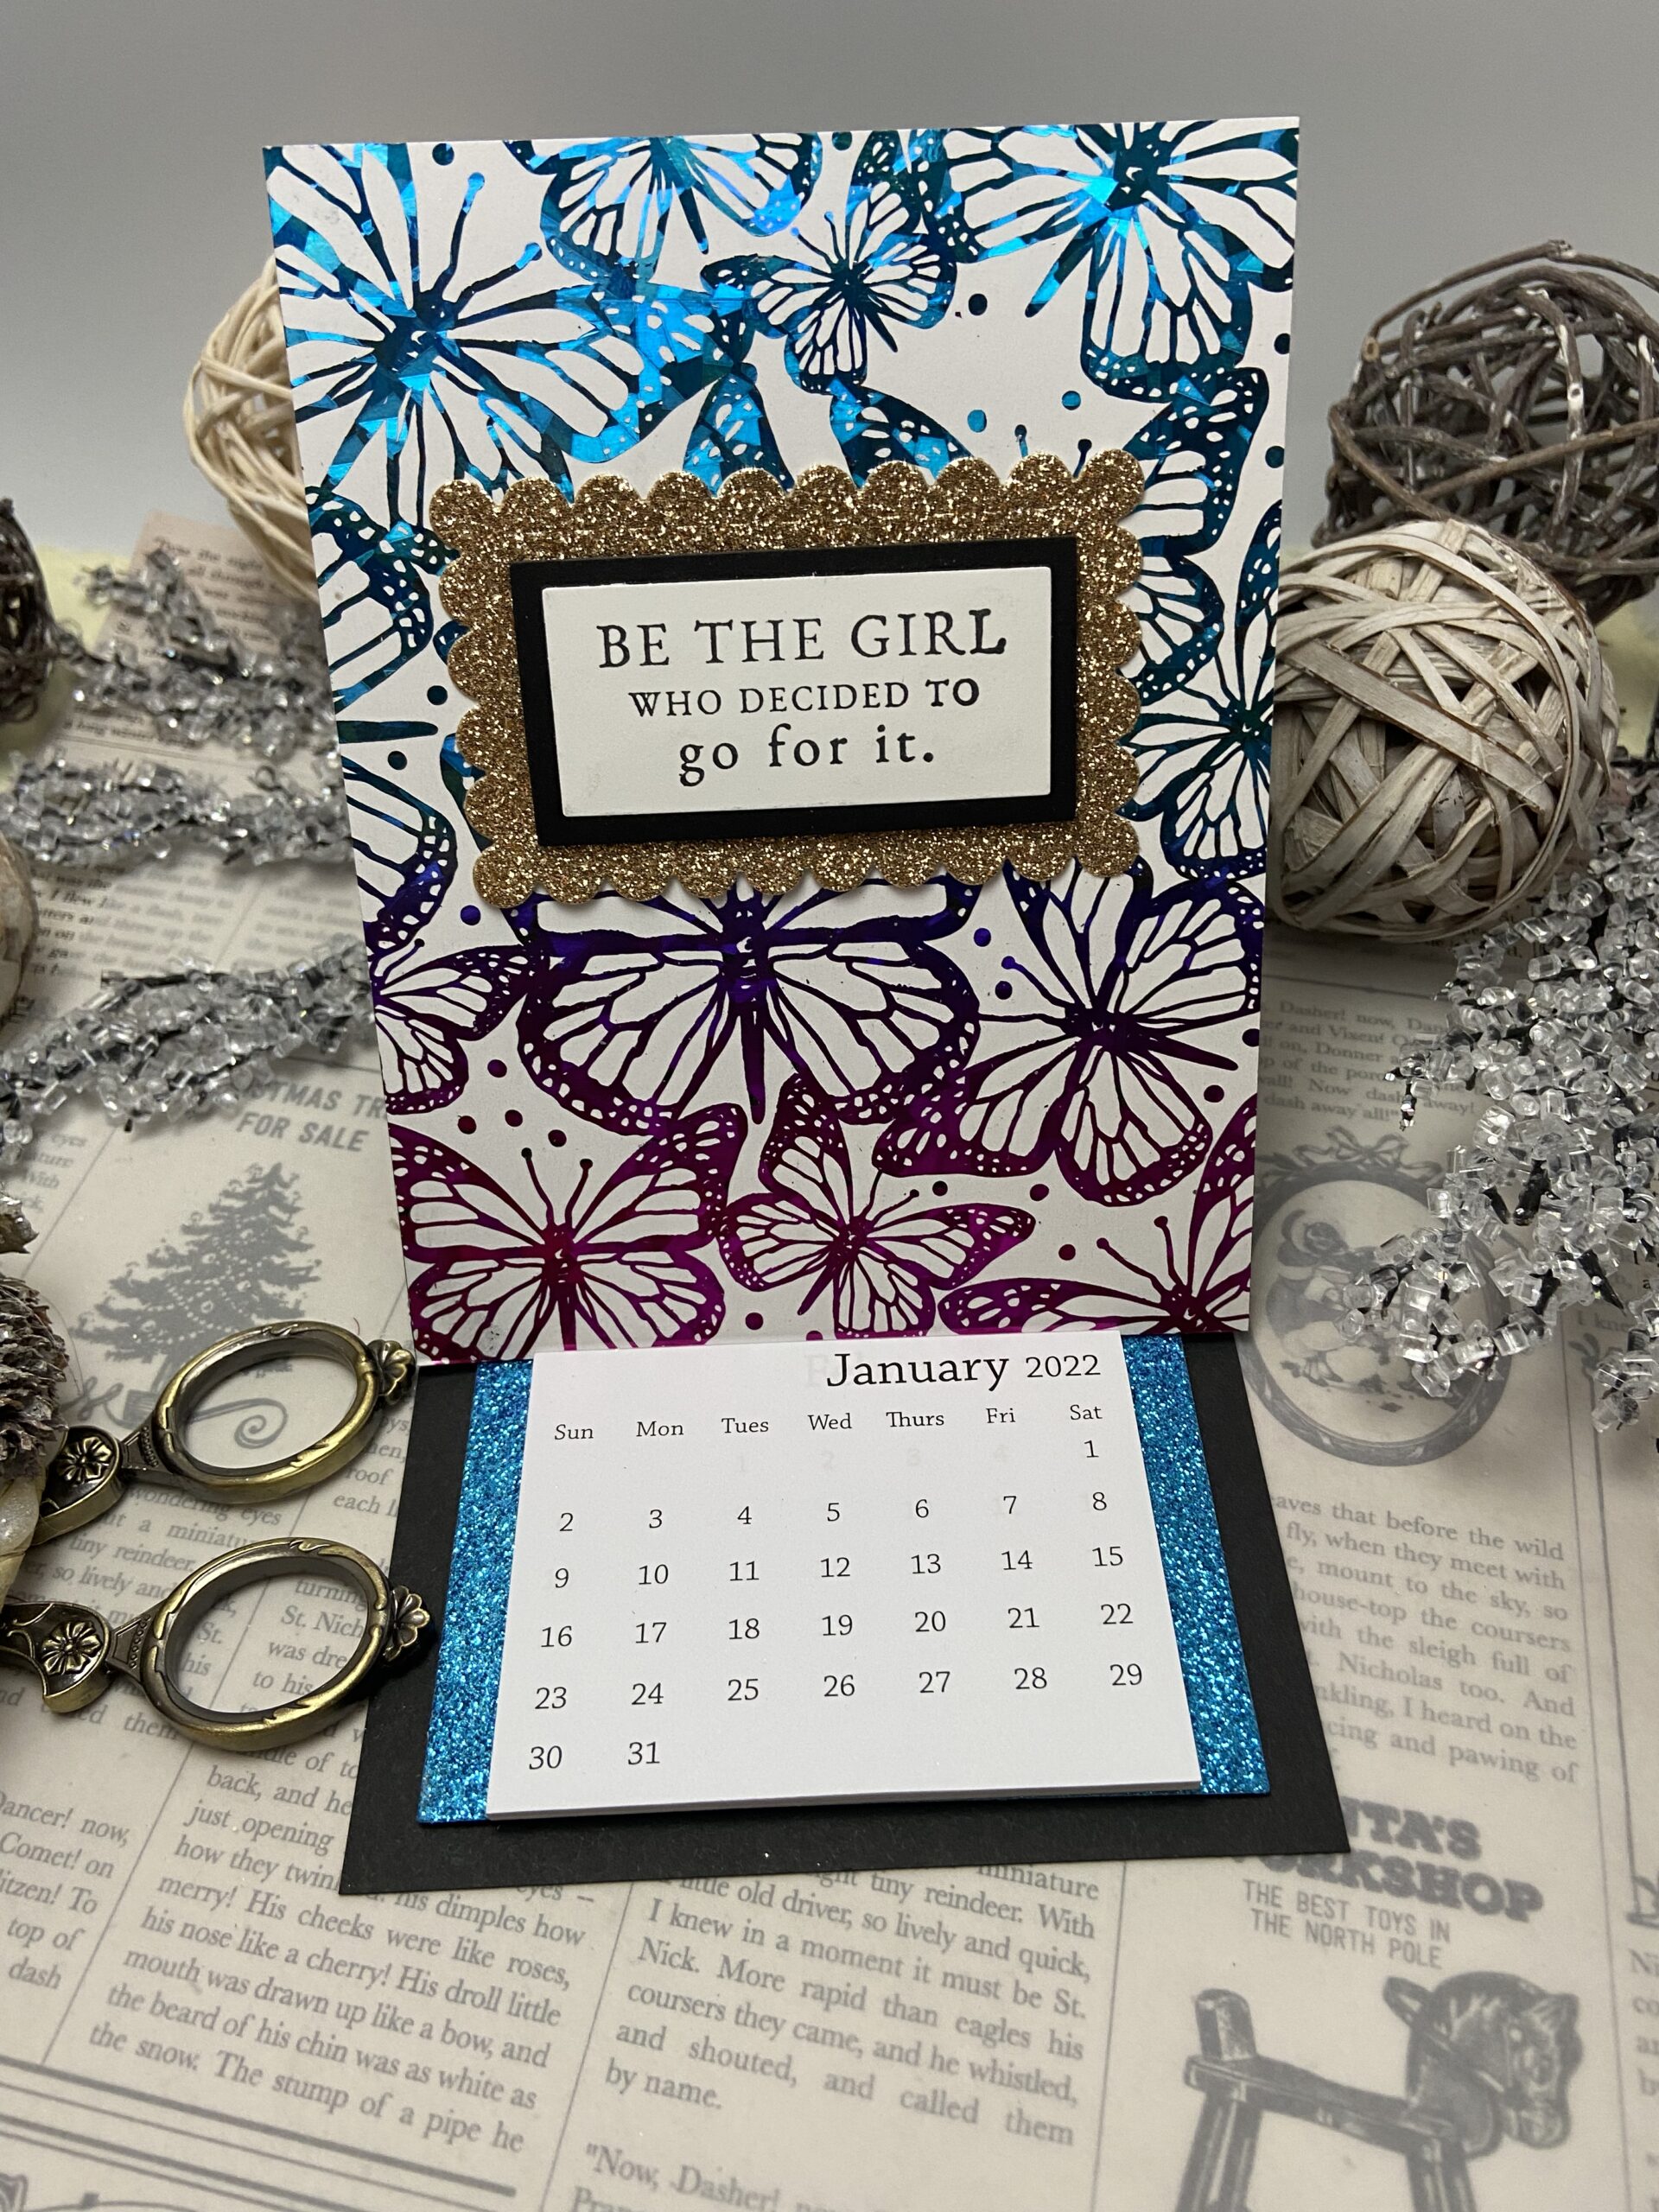
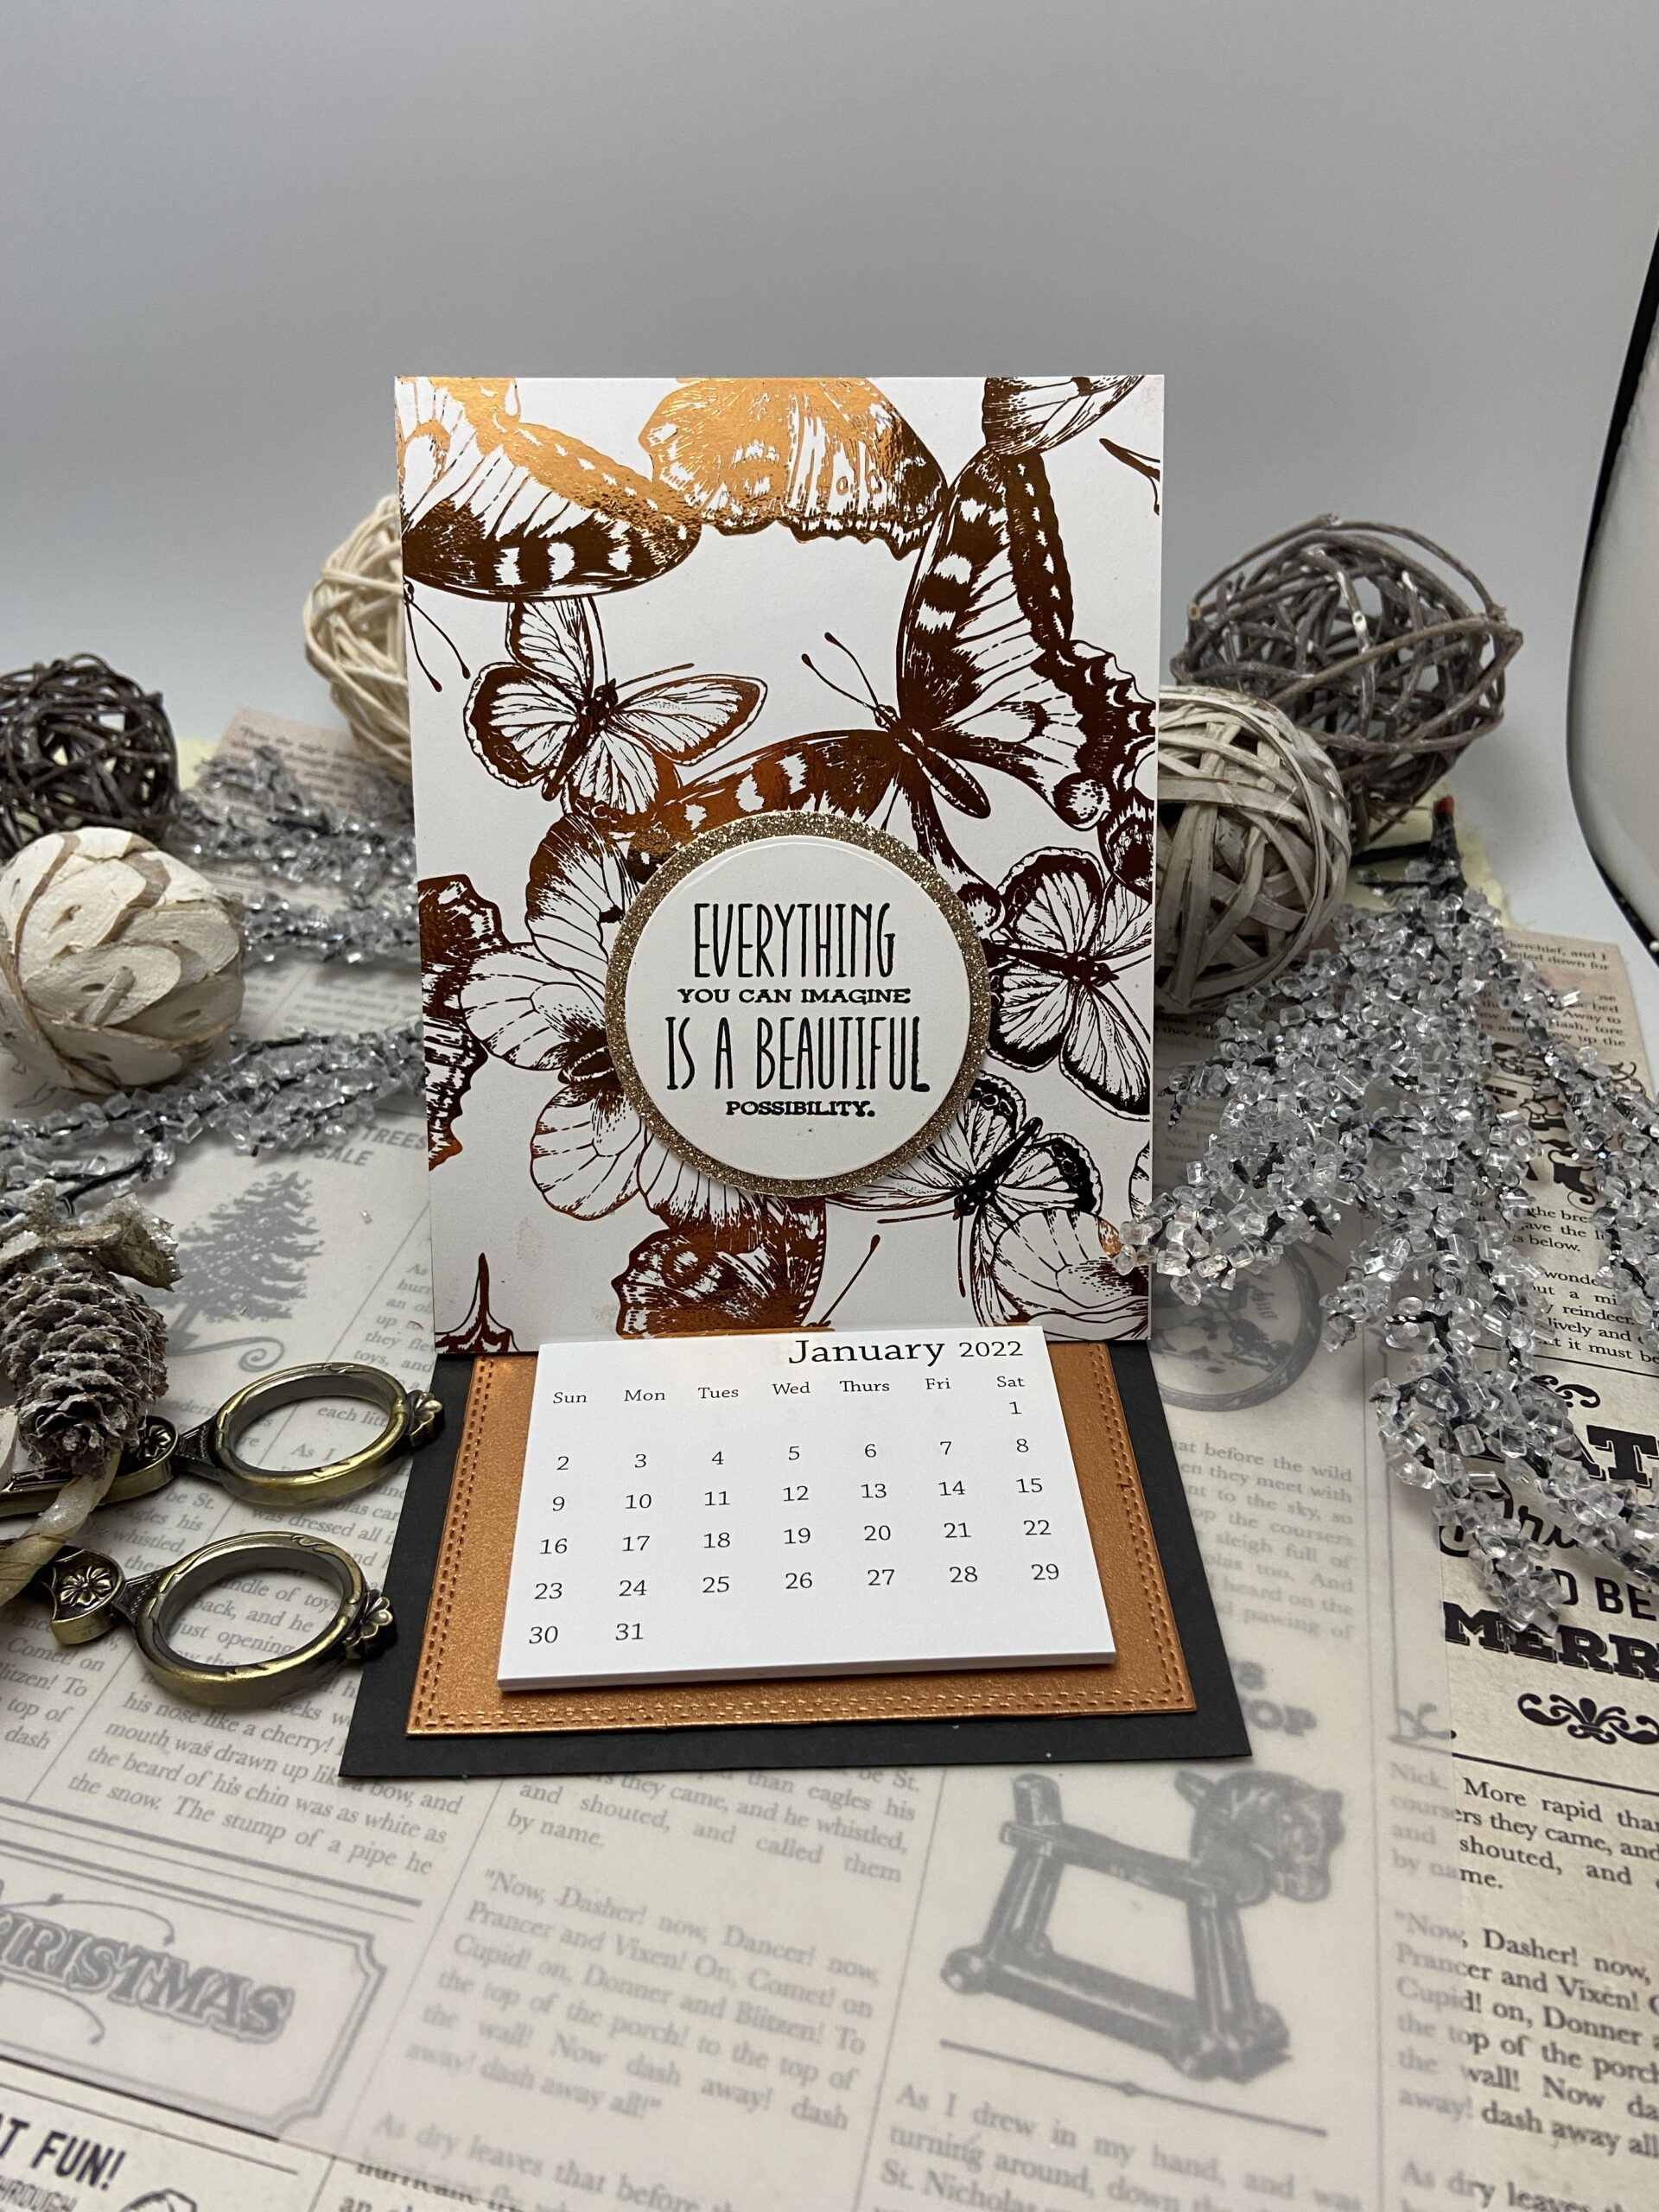
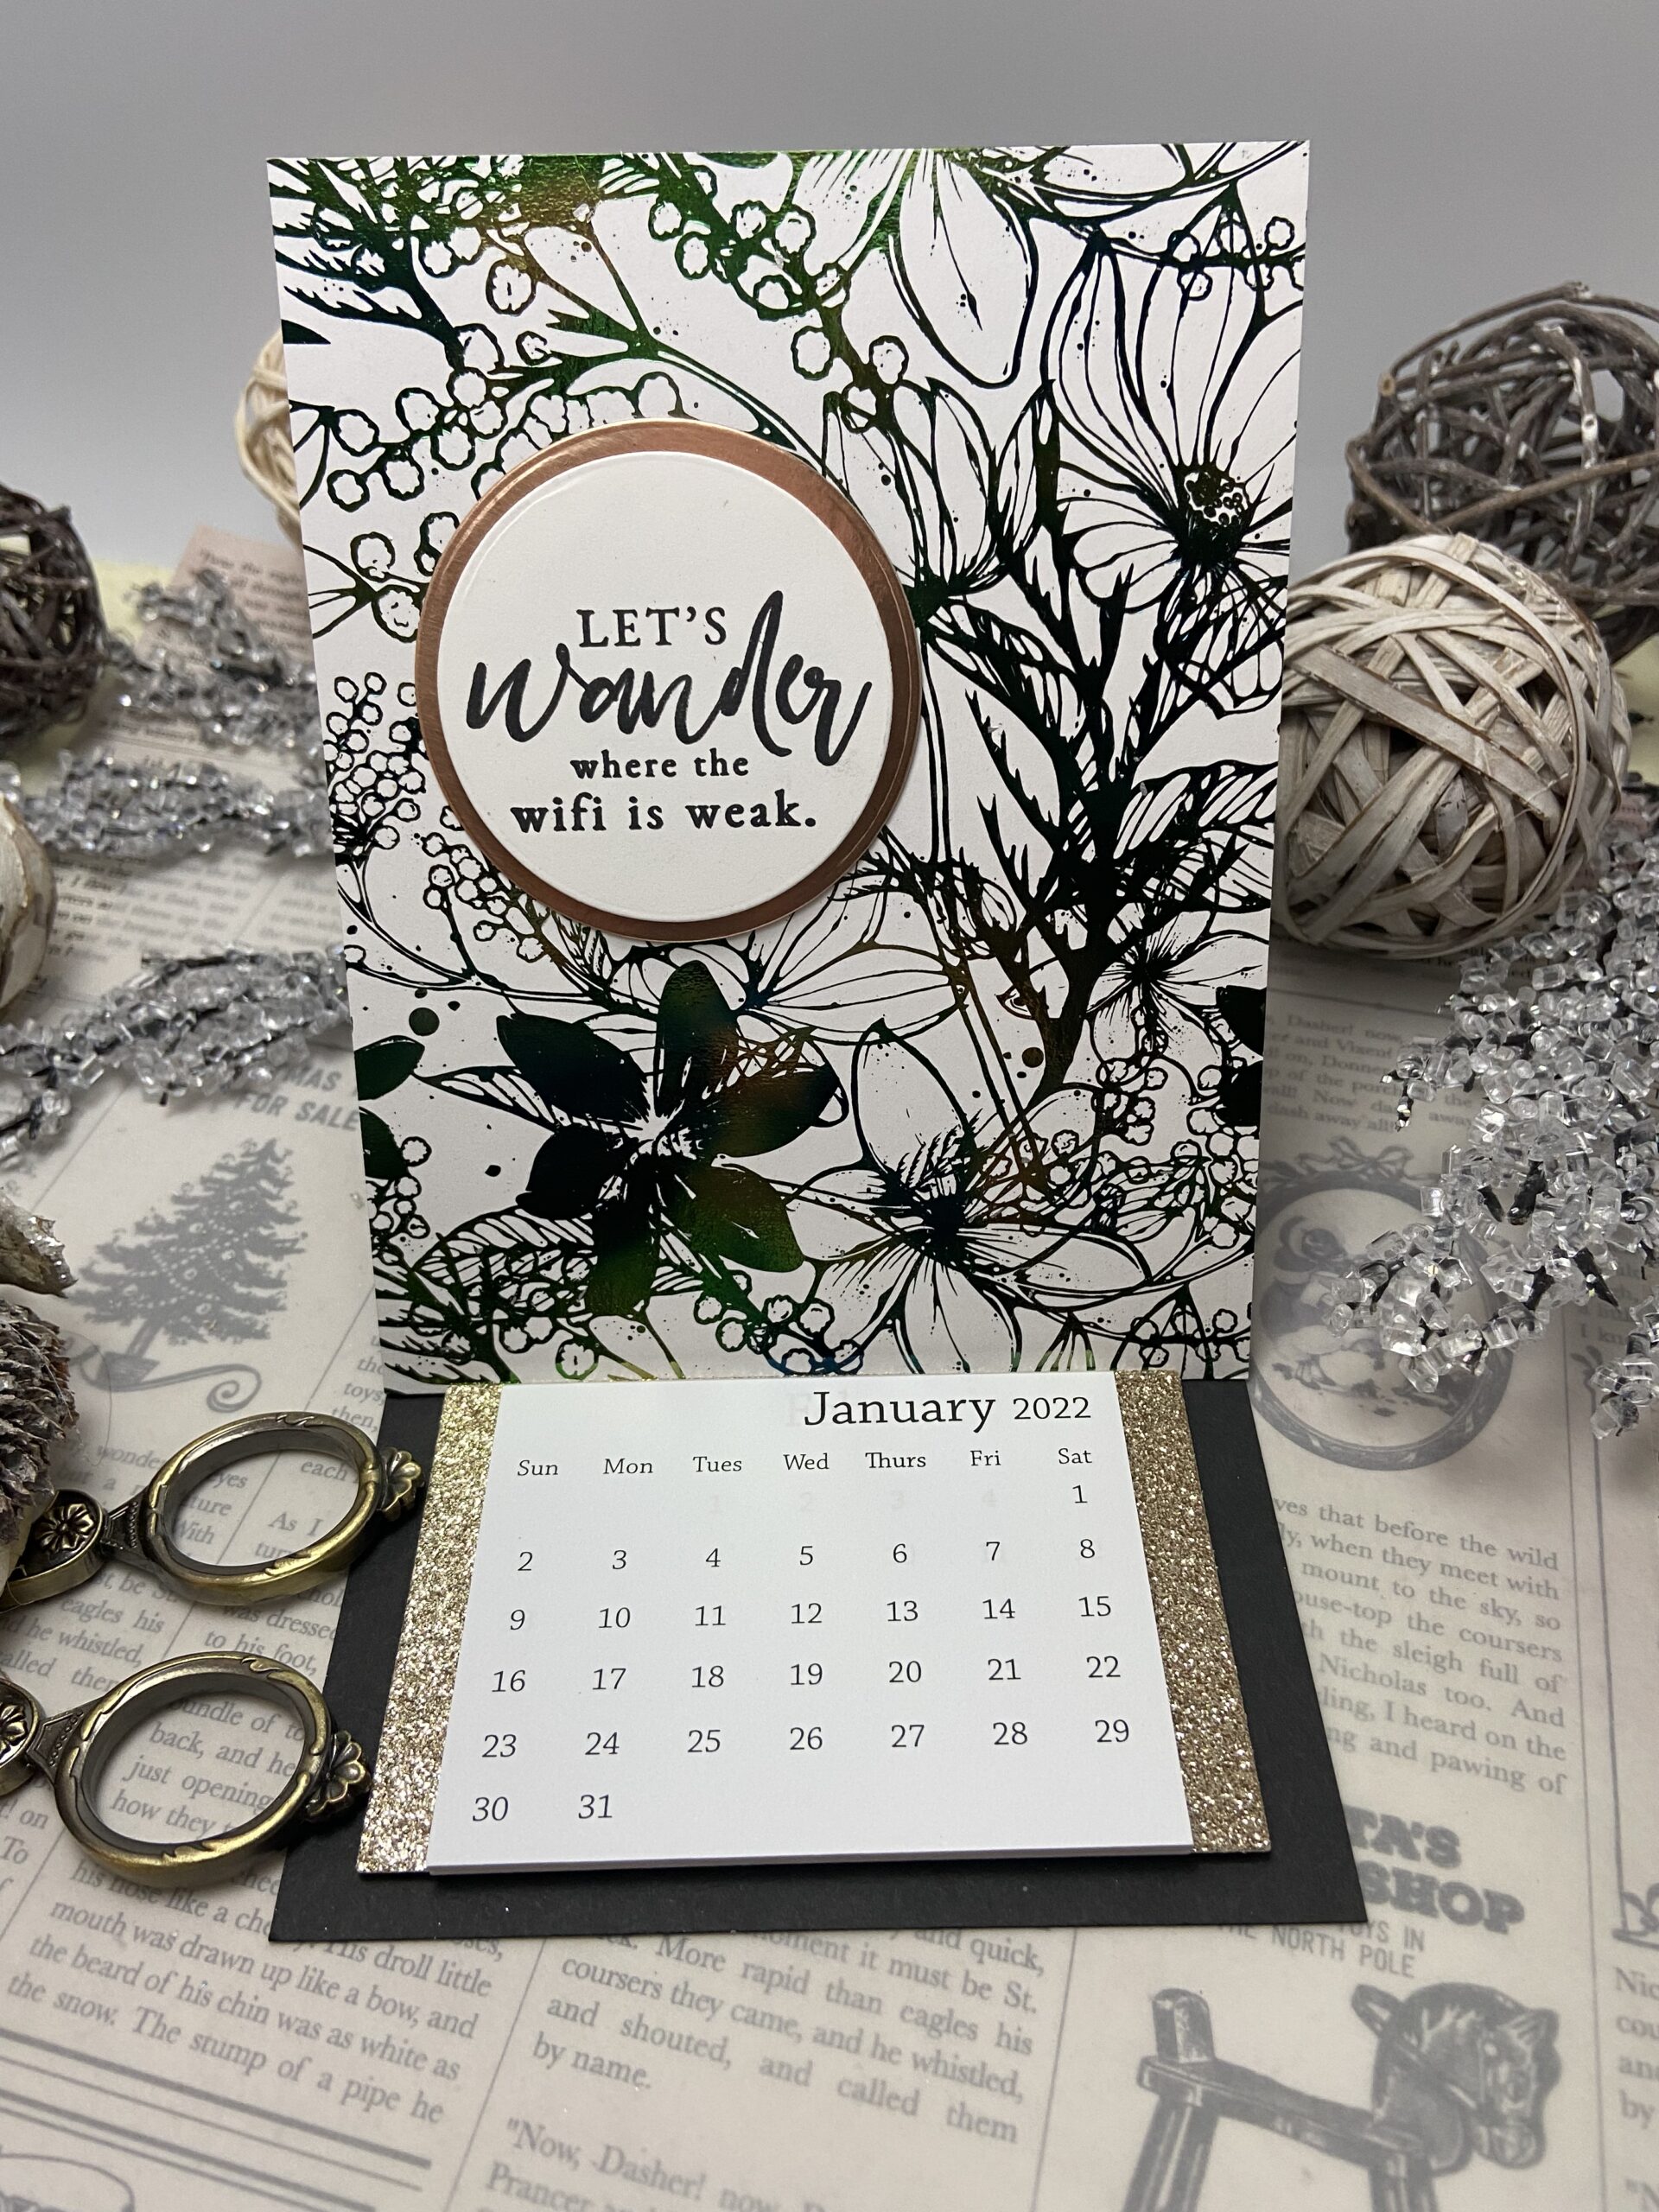
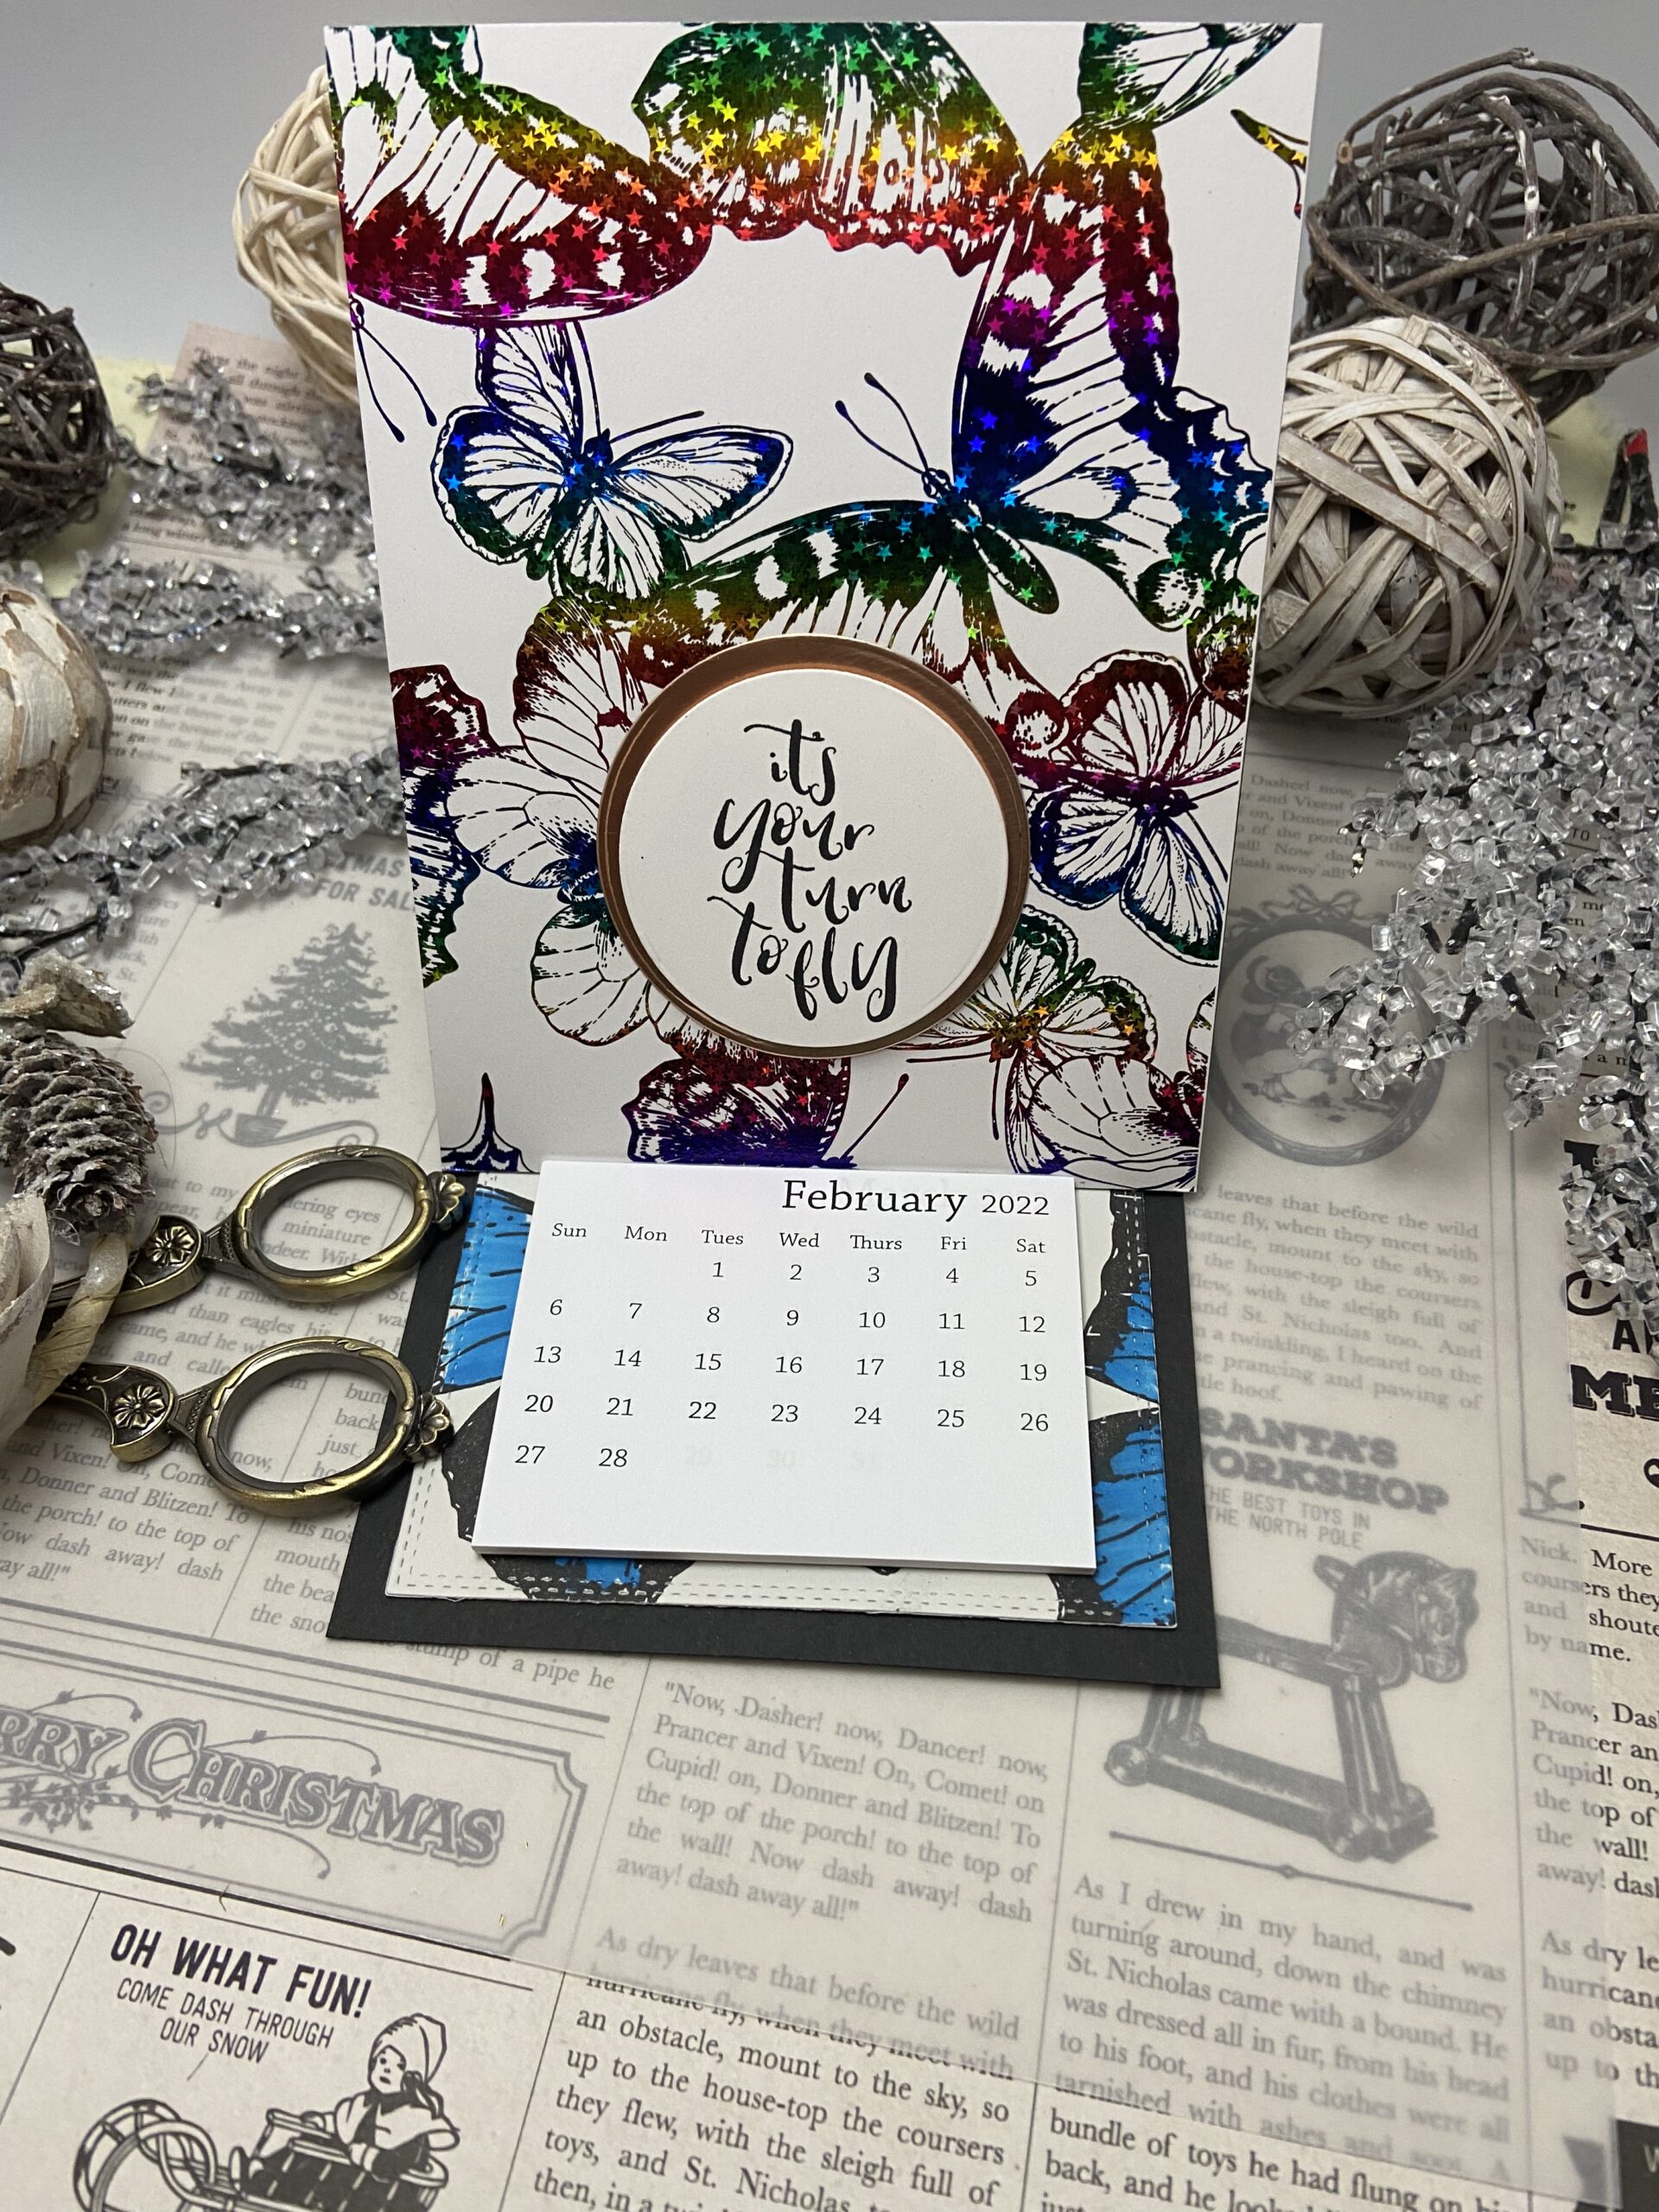

The photos so you how they look closed they fit into a standard A2 envelope. The next photos show what they look like opened the stand up on your recipients desk. Aren’t they pretty? So shiny and a beautiful reminder of you for them the cherish all year long.
Here’s how to make this version
Cut an 8 1/2 by 11 card stock card base in half to create a top folding card.
Score at 5 1/2 and again at 2 3/4. Fold both score lines.
Add Therm O Web tear tape to ONLY the small bottom portion of the 2 3/4 section of your card base. This is where you adhere your foiled card front. I added a piece of patterned paper from my stash to the back of the foiled front for extra sturdiness and a decorative feature on the back.
Then I lined up the toner piece to the card base and attached them together.
Next it is time to place the calendar to the inside. You want to add it to the bottom of the inside low enough to create a stopping point to when opened the foiled front has a place to rest.
I die cut a piece of cardstock using Therm O Web’s stitched rectangle dies.
They come in a set of single stitched and double stitched. These are some of my favorite dies and when used together they nest perfectly for a tiny little border a great investment for your stash. They come in multiple shapes, rectangle, square, circle and oval. I have all the sets.
Then I layered the rectangles die cut I added my calendar over the top with foam tape.
now you have a shiny mini desk calendar. The only thing left to do is add a sentiment to the front. I used stamps from my stash.
I’m a huge fan of Unity Stamp Company they have the best encouragement sets. All the sentiments featured are from various Gracille Designs kits. Right now Unity is having the best sales of the year so it’s a great time to add to your collection.

This last one is a sneak peak into tomorrow’s post showing how I made a calendar using the negative foil. I’ll also show you an alternative fold to create desk calendars. Thanks for stopping by❤️